This post may contain affiliate links. For more information, please see our affiliate policy.
Learn How to Blanch Green Beans so they are deliciously tender-crisp every single time. Then you can sauté them for dinner, add them to salads, or just snack on them throughout the day.
Blanching is a cooking process that transforms fresh green beans into partially cooked, chilled green beans. This is a helpful process when you want the beans to cook quickly in another dish or you want to serve them as-is.
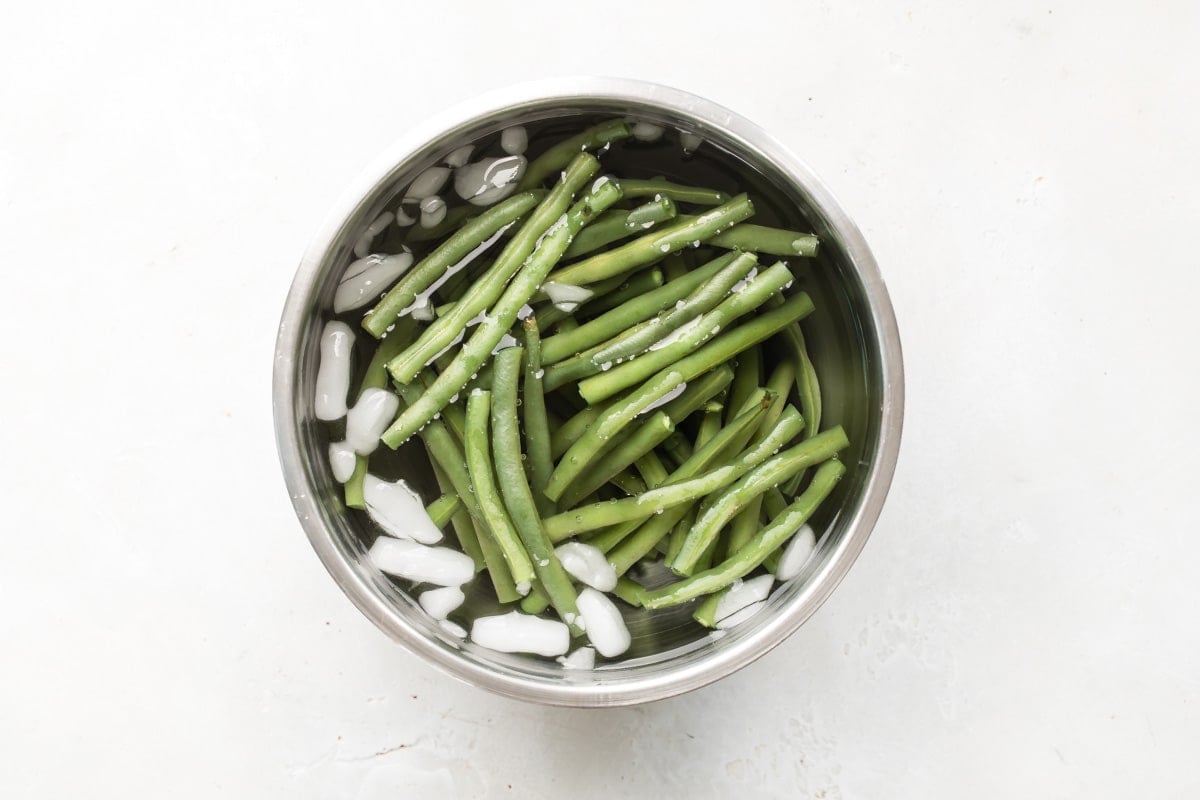
There are two parts to blanching: a quick boil in salted water, then a quick plunge in a bowl of ice water. The boiling does the cooking and the ice water stops the cooking so the beans don’t become overcooked and mushy.
Table of Contents
Tutorial notes
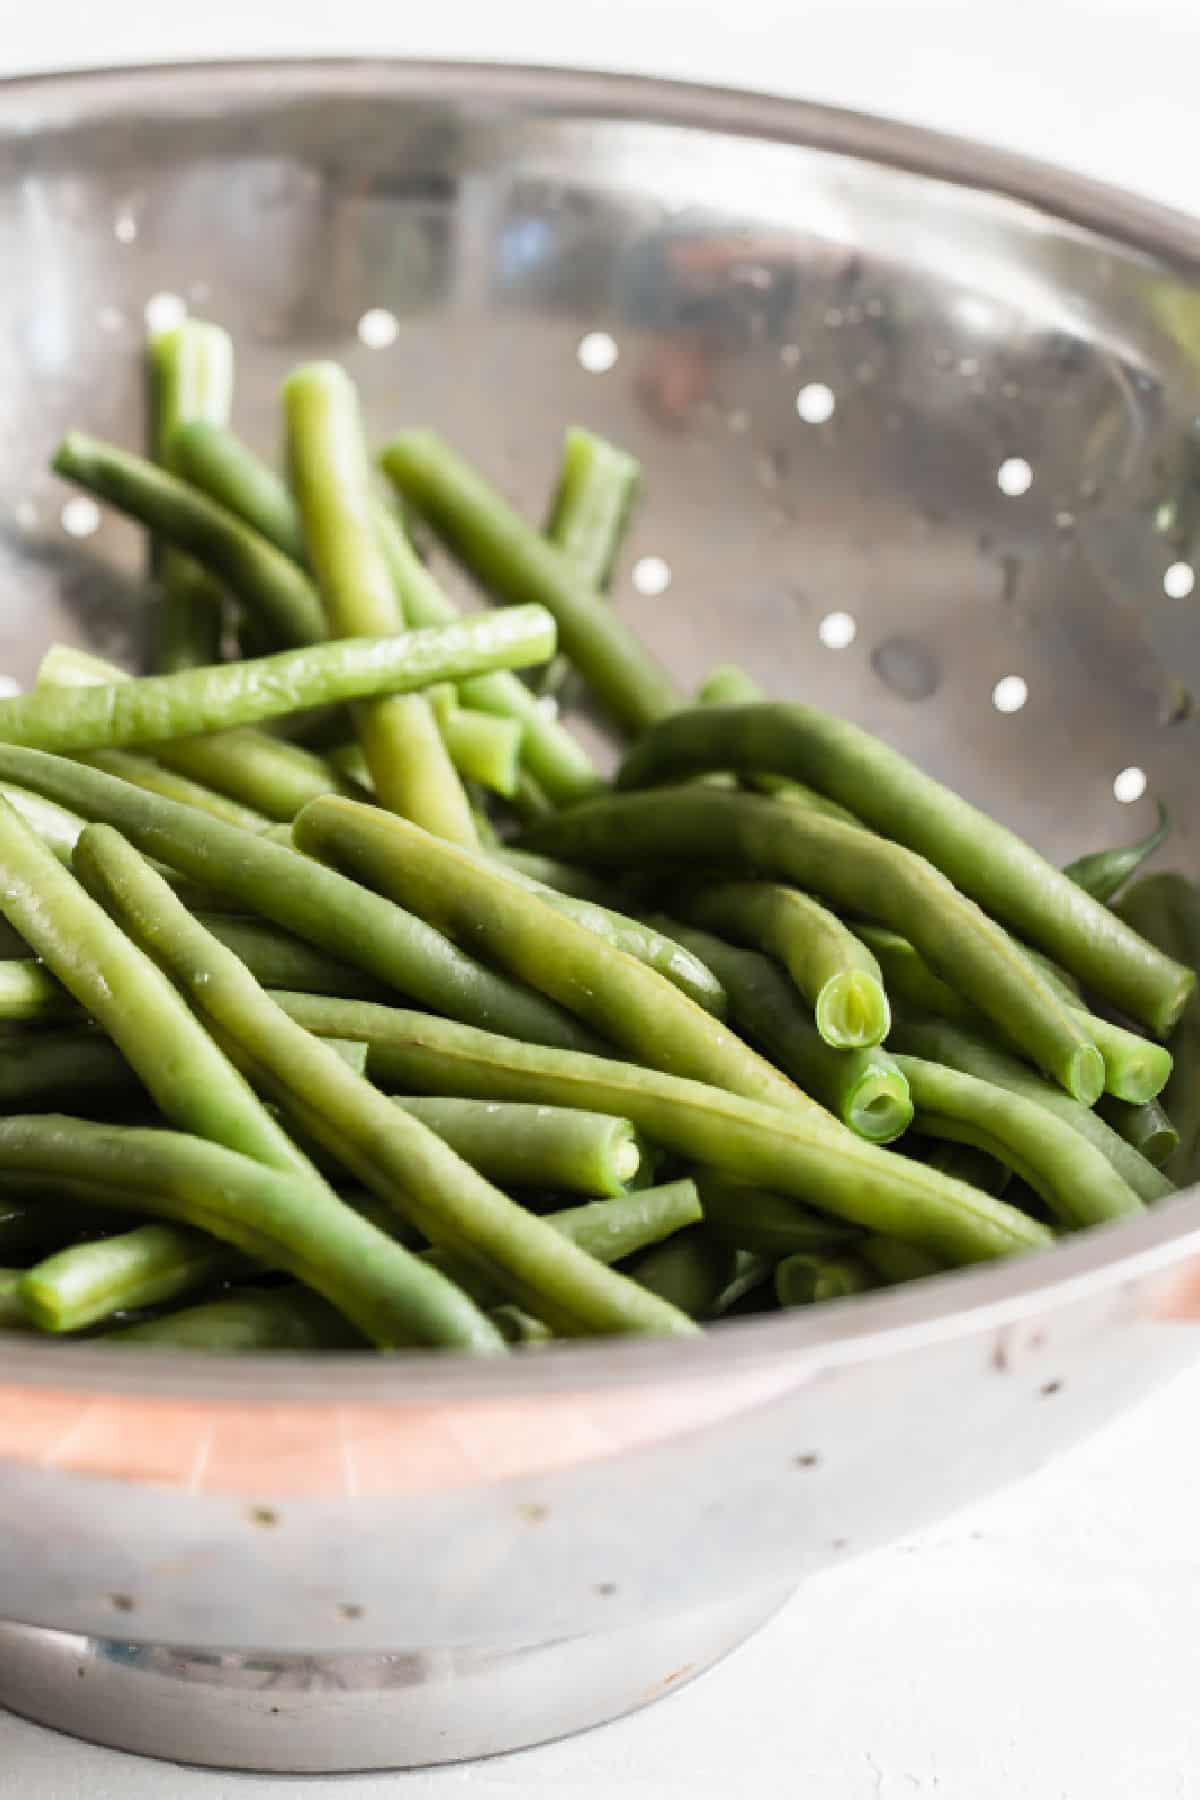
- Trimming: Remove the stem ends with a knife or kitchen scissors. If your beans have them, remove any tough strings that run along the length of the beans. There’s no need to trim off the tails. Some love their green beans “frenched,” or sliced lengthwise down the middle.
- Buying: A green bean at its best should have vivid green color, a firm texture, and make an unmistakable “snap” when broken. Avoid any limp beans with rusty brown spots or slimy, darkened stems.
- Storing: Green beans should be stored in an open bag in the refrigerator. Unwashed, untrimmed green beans will last about 1 week.
Step-by-step instructions
- To trim the beans, remove the stem ends with a knife or kitchen scissors. If your beans have them, remove any tough strings that run along the length of the beans. There’s no need to trim off the tails.

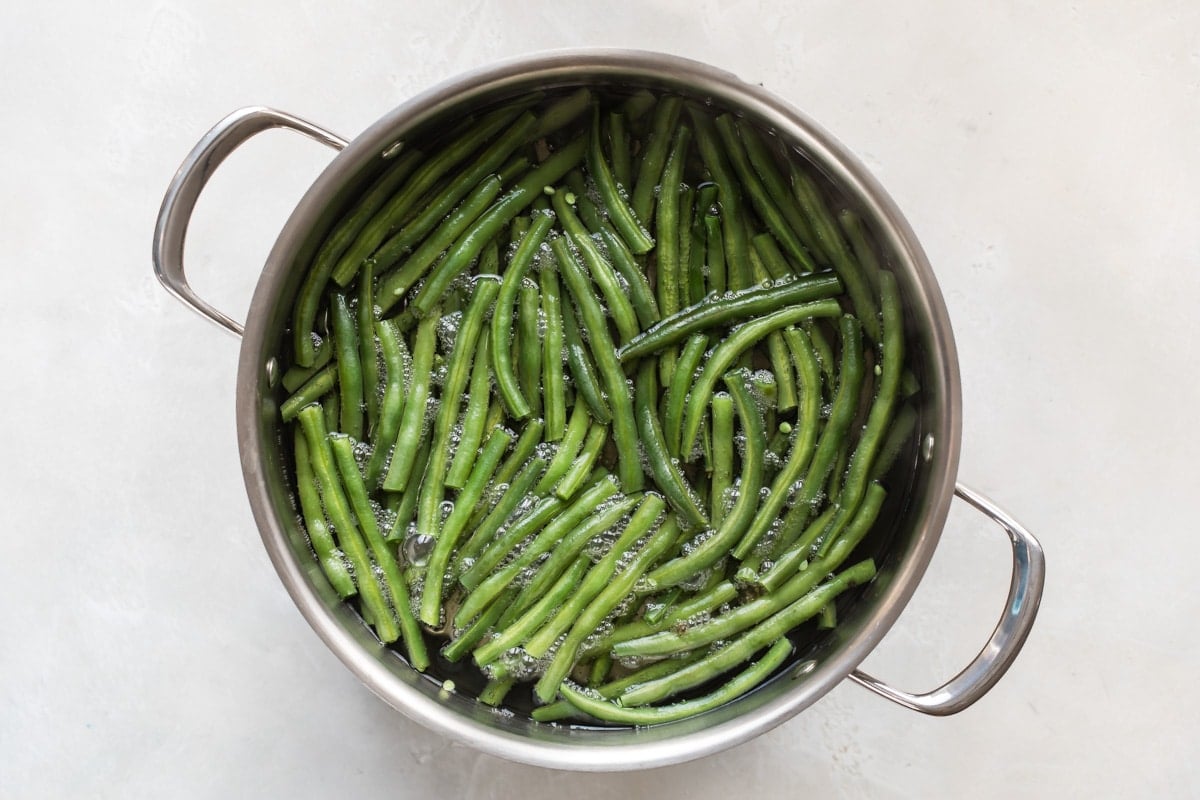
- Bring a large pot of water to boil. Meanwhile, set out a large bowl of ice water. To the pot of boiling water, add the green beans and boil until tender-crisp but still have a bright green color, about 3 to 5 minutes.
- Transfer to the cold water with a slotted spoon to stop the cooking.
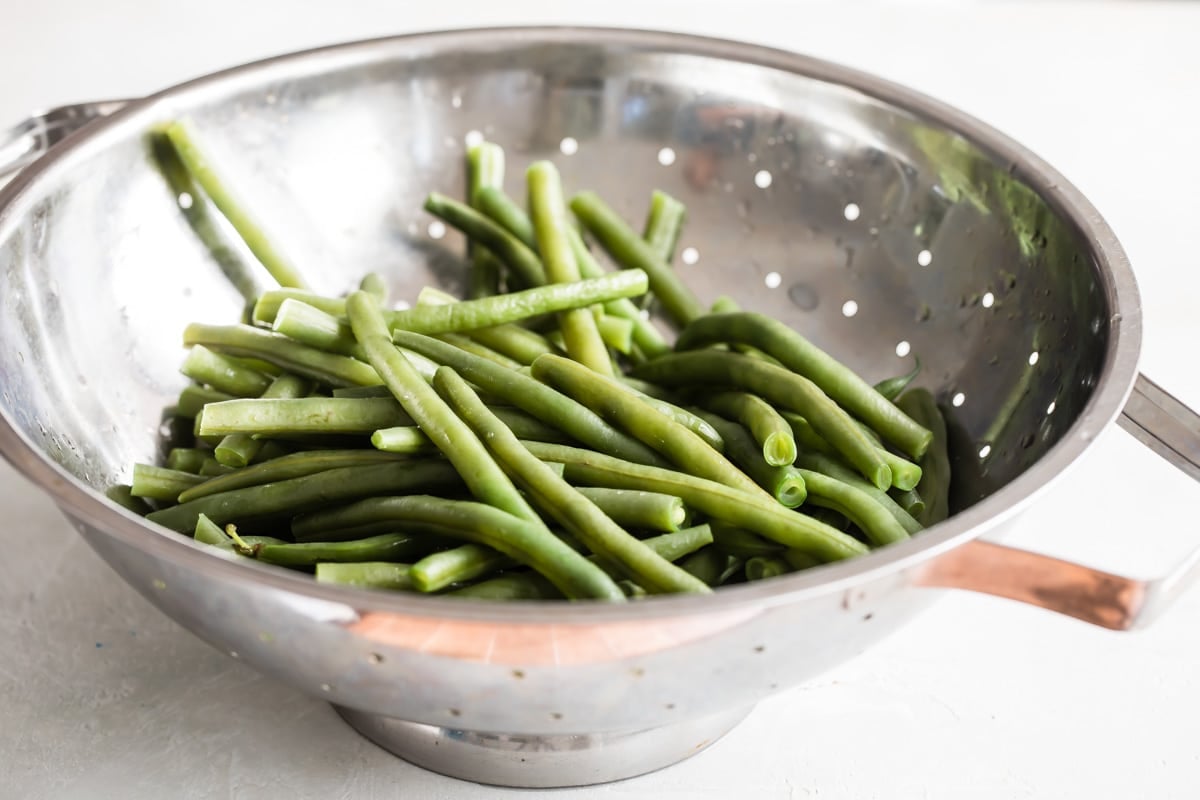
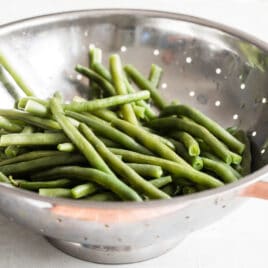
- Once the beans are completely cool, drain well in a colander and pat dry with a clean kitchen towel or paper towels.
Recipe tips and variations
- Yield: 1 pound of blanched green beans feeds about 4 people.
- Storage: Store leftovers covered in the refrigerator for up to 4 days.
- Make ahead: Wash and trim the beans up to 3 days in advance.
- Freezing green beans: Arrange blanched, drained beans in a single layer on a baking sheet lined with parchment or waxed paper and put it in the freezer. Once the beans are individually frozen, remove them from the sheet pan and transfer them to a freezer-safe container and freeze up to 9 months. Remove and reheat frozen green beans or thaw the whole bag overnight in the refrigerator before reheating.
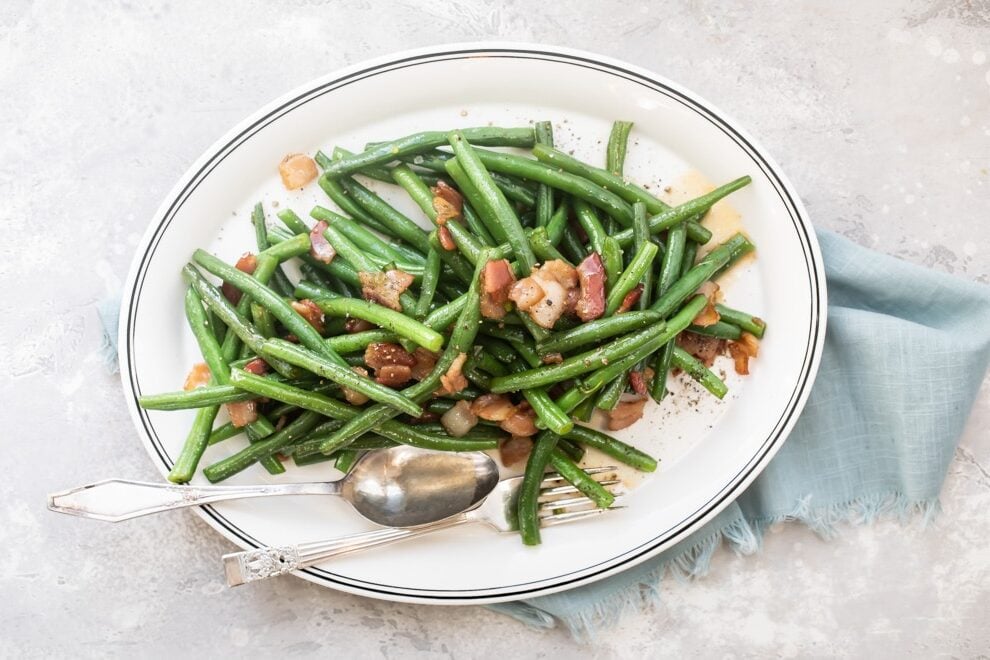
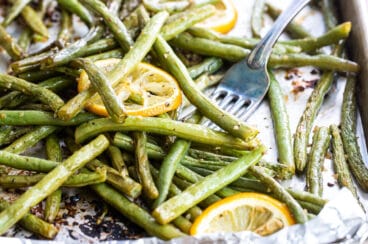
- Favorite recipes for green beans: Put your blanched green beans to work in Veggie Fried Rice, Easy Cold Pasta Salad, a Niçoise Salad, or a green Bean Salad. or, just sauté your blanched string beans in a skillet with olive oil, garlic, lemon, salt, and black pepper. What an amazing flavor combination!
- More veggies to blanch: You can easily blanch broccoli, blanch asparagus, or even blanch cauliflower.
- Leftovers: Use leftover green beans in an omelet, pasta salad, or green salad. Or, dip cold beans in Hummus, Ranch Dressing, or Dill Dip.
Frequently Asked Questions
Blanch green beans until they are tender-crisp and the bright green color is set. This usually takes about 3 to 5 minutes as long as your pot of water is at a rapid boil when they go in.
Not all recipes require blanching. It’s just a helpful step if you want to ensure all your vegetables are done at the same time, or if you want to take away the harsh raw taste when putting them out cold such as with veggie dip.
Best green bean recipes
Vegetable Recipes
Roasted Green Beans

Casserole Recipes
Green Bean Casserole

Salad Recipes
Bean Salad

Side Dish Recipes
Slow Cooker Green Bean Casserole
Join Us
How to Blanch Green Beans
Ingredients
- 1 pound green beans washed and trimmed (see note 1)
Instructions
- In a large saucepan or stock pot, bring 4 quarts water and 1 tablespoon salt to boil. Meanwhile, set out a large bowl of ice water.
- To the pot of boiling water, add the green beans and boil until tender-crisp but still bright green, about 3 to 5 minutes.
- Transfer to the ice bath to stop the cooking. Once the beans are completely cool, drain well and pat dry.
Recipe Video
Notes
- Trimming: Remove the stem ends with a knife or kitchen scissors. If your beans have them, remove any tough strings that run along the length of the beans. There’s no need to trim off the tails. Some love their green beans “frenched,” or sliced lengthwise down the middle.
- Buying: A green bean at its best should have vivid green color, a firm texture, and make an unmistakable “snap” when broken. Avoid any limp beans with rusty brown spots or slimy, darkened stems.
- Storing: Green beans should be stored in an open bag in the refrigerator. Unwashed, untrimmed green beans will last about 1 week.
- Yield: 1 pound of blanched green beans feeds about 4 people.
- Storage: Store leftovers covered in the refrigerator for up to 4 days.
Nutrition
Meggan Hill is a classically-trained chef and professional writer. Her meticulously-tested recipes and detailed tutorials bring confidence and success to home cooks everywhere. Meggan has been featured on NPR, HuffPost, FoxNews, LA Times, and more.
Do you need to add vinegar to water before blanching. If so,how much vinegar do I need to use. Thanks
Hi Ben, I don’t use vinegar. Hope this helps! – Meggan
When I blanch beans, the water will stop boiling when I put the beans in it. Do I start timing when I add the beans or when the water comes to a boil again?
Hi Mark! Don’t worry that the water stops boiling, just time it from when they go in. They blanch quick! – Meggan
First time I’ve done this. They came out perfect!
Awesome Mari, thanks! – Meggan
I appreciate your guidance on blanching green beans. I liked the photography, also. Always helps. Thank you again.
Thanks Lorri! – Meggan
Hi- thank you the info here. What’s the best way to store them in the fridge before wok frying please? And how long can they be stored after blanching?
Hi Meg! After you blanch them and chill them in the ice bath, they will be cold. So you can just store them covered in the refrigerator and you’ll be good to go. They should last about 3-4 days, but you can just keep an eye on them and see how they look. Thanks! -Meggan
Do I take off the ends before blanching
Hi Sherry, yes. That’s what the “trimmed” part means in the recipe, sorry that wasn’t clear. I trim the ends before blanching, yes. Thank you! -Meggan
Very easy to follow! Thank you!