This post may contain affiliate links. For more information, please see our affiliate policy.
Proofing is the step in bread making when yeast dough rests and rises before baking. Professional kitchens use a proof box, but you can create a similar warm environment using just your oven.
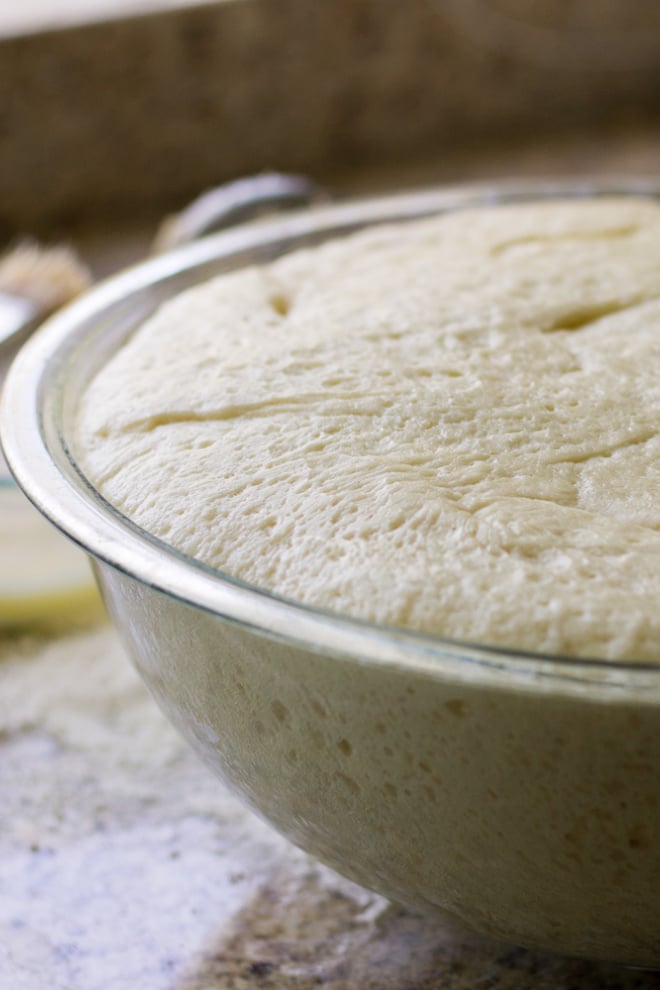
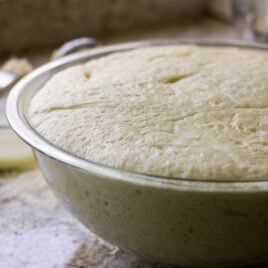
From homemade cinnamon rolls to no-knead bread, all yeast dough needs a nice warm place so the yeast can work. Why? Because yeast is a living organism; it feeds on the sugars in the flour and produces carbon dioxide gas, a product of fermentation. That gas is what makes the dough expand during the proofing (or proving) process.
How quickly that happens depends on several factors: the freshness of the yeast, humidity, and heat: For example, the temperature of your kitchen.
To create a consistently warm, draft-free place, I use the oven to proof dough. Here’s how.
Proofing notes:
- Bulk fermentation versus proofing: Technically, bulk fermentation is letting the entire batch of dough rise before it is shaped. Proofing is the technical term for the final rise, after shaping but before baking.
- Temperature: Ideal temperature range for yeast to work is between 75 degrees and 85 degrees Fahrenheit. Yeast cells will die at 138 degrees Fahrenheit.
Step-by-step instructions:
- Turn your oven on to the lowest temperature it will go, usually 200 degrees. Once it reaches 110 degrees, turn the oven off. Place the dough in the oven and close the door. Opening the oven door will lower the heat a bit, and that’s okay (you’re aiming for 75 to 85 degrees).

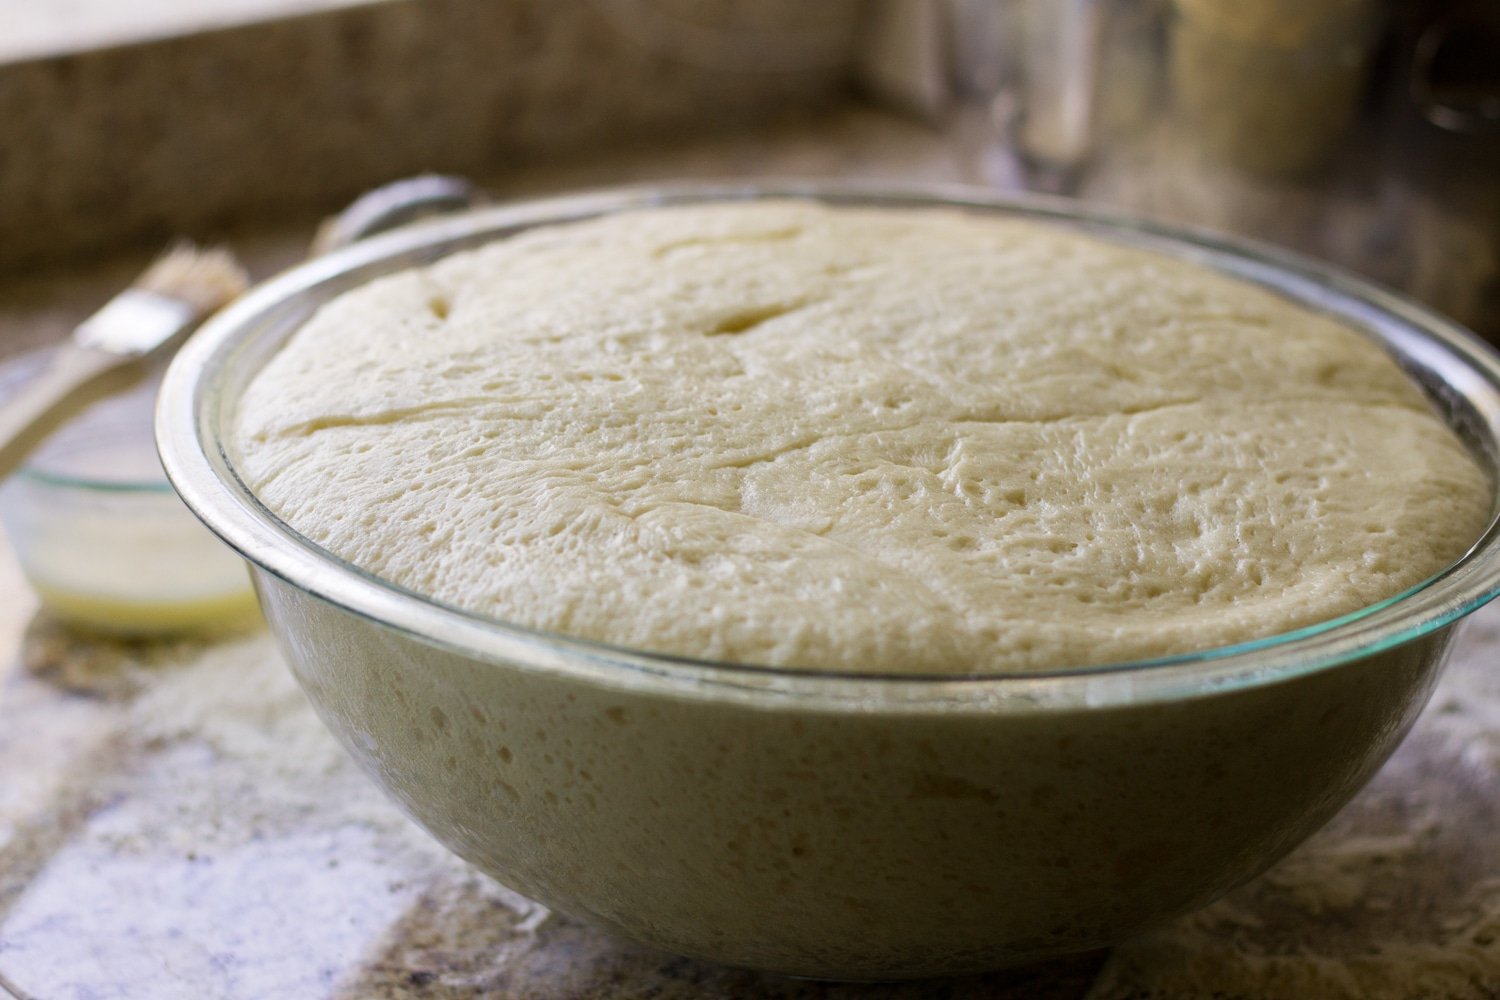
- Keep the dough closed for the duration of the proofing time according to your recipe. For example: 1-½ to 2 hours or until the dough has doubled in size for the first rise and 30 minutes for the second rise. Some recipes require two or even three proofs before baking. You can repeat the steps as necessary every time, if needed.
Recipe tips and variations:
- Follow your recipe: Because baking is a science, please follow the instructions of the specific recipe you’re making.
- Time: This will be different can vary depending on the recipe, and can range from 1 to 3 hours. A warmer environment, a warmer dough, and more yeast can make for a faster rise.
- Spring back: Bread bakers know proofing is done when the dough has doubled in size, and no longer springs back when pressed with two fingers.
- No-time dough: Recipes made with more yeast to speed the fermentation process.
- Retardation: Fermenting dough under refrigeration to slow the yeast activity. This allows the dough to develop more flavor and can help with timing for production baking.
- Testing yeast for freshness: Dissolve ½ teaspoon sugar in ½ cup warm water. Add one packet (or 2 teaspoons) yeast, stir, and wait 10 minutes. If the yeast mixture is bubbly and domed, your yeast is active and ready to go. (You can use the same yeast you tested–just reduce the liquid in your recipe by ½ cup.)
Great recipes with proofing:
Join Us
How to Proof Dough
Ingredients
- 2 pounds dough
Instructions
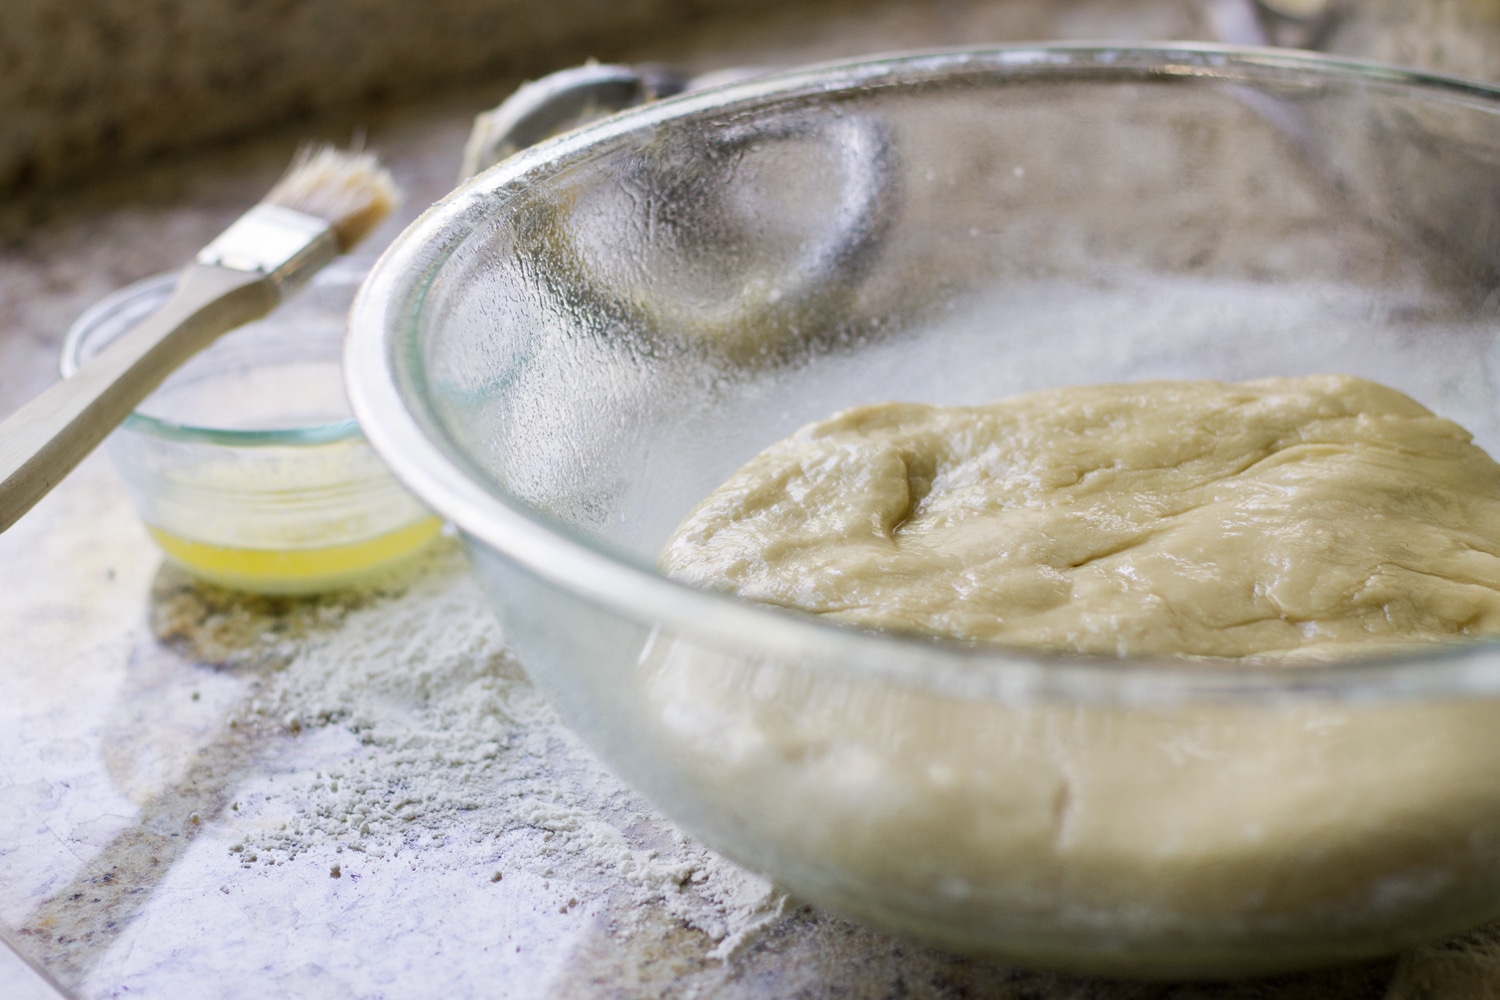
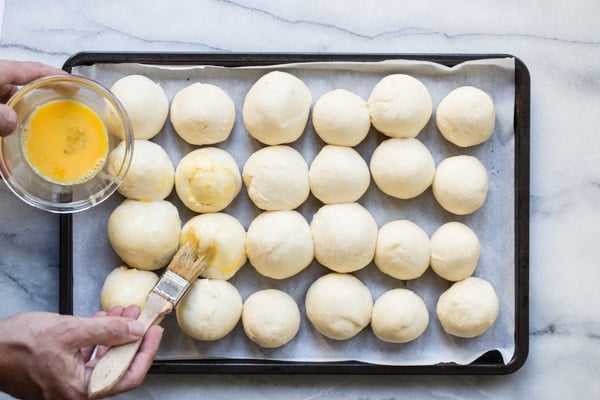
- For a first rise, Add the dough to a greased bowl, brush with melted butter or oil, and cover with plastic wrap. For a second rise, roll out and shape the dough according to your recipe.
- Turn your oven on to the lowest temperature it will go, usually 200 degrees. Once it reaches 110 degrees, turn the oven off. Place the dough in the oven and close the door. Opening the oven door will lower the heat a bit, and that's okay (you're aiming for 75 to 85 degrees).
- Keep the oven door closed for the duration of the proofing time according to your recipe. For example: 1-½ to 2 hours or until the dough has doubled in size for the first rise and 30 minutes for the second rise. Some recipes require two or even three proofs before baking. You can repeat the steps as necessary every time, if needed.
Notes
- Bulk fermentation versus proofing: Technically, bulk fermentation is letting the entire batch of dough rise before it is shaped. Proofing is the technical term for the final rise, after shaping but before baking.
- Temperature: Ideal temperature range for yeast to work is between 75 degrees and 85 degrees Fahrenheit. Yeast cells will die at 138 degrees Fahrenheit.
- Follow your recipe: Because baking is a science, please follow the instructions of the specific recipe you're making.
- Time: This will be different can vary depending on the recipe, and can range from 1 to 3 hours. A warmer environment, a warmer dough, and more yeast can make for a faster rise.
- Spring back: Bread bakers know proofing is done when the dough has doubled in size, and no longer springs back when pressed with two fingers.
- No-time dough: Recipes made with more yeast to speed the fermentation process.
- Retardation: Fermenting dough under refrigeration to slow the yeast activity. This allows the dough to develop more flavor and can help with timing for production baking.
- Testing yeast for freshness: Dissolve ½ teaspoon sugar in ½ cup warm water. Add one packet (or 2 teaspoons) yeast, stir, and wait 10 minutes. If the yeast mixture is bubbly and domed, your yeast is active and ready to go. (You can use the same yeast you tested--just reduce the liquid in your recipe by ½ cup.)
Nutrition
Meggan Hill is a classically-trained chef and professional writer. Her meticulously-tested recipes and detailed tutorials bring confidence and success to home cooks everywhere. Meggan has been featured on NPR, HuffPost, FoxNews, LA Times, and more.
I am popping my sweet rolls in my oven! After they are doubled in size do I take them out or just turn my oven on to375????
Thank you
Maureen
Hi Maureen, that depends on the recipe you’re following for what you are baking! – Meggan
I tried many methods of proofing bread dough in my rather cold kitchen, this method is by far the best one I have found. I can now make bread again! Thanks for this fool-proof method.
Thanks Gwen, happy to be of help! – Meggan
Hi Meggan, I’ve tried making dough the night before and putting in the fridge overnight so I can bake and get fresh rolls in the morning. However, the fermentation caused the dough smells weird like bad alcohol. What did I do wrong here or if you have any tips? Thank you!
Hi Sonny, yeast fermentation produces alcohol, so it is natural for the dough to have a beer-like smell. If it smells terrible, it might have been proofed for too long, or there was too much yeast added. Fresh rolls in the morning sounds amazing! – Meggan
Typically, are all steps when yeast dough rests and rises called Proofing? Also, should all steps when dough is allowed to rise be performed with the container closed to prevent loss of moisture? I have a recipe for cinnamon rolls which calls for the last (second) rise to be loosely covered. Please advise. Thanks.
Hi Thomas, proofing is the step in bread making when yeast dough rests and rises before baking. Since you are proofing in the oven (in this specific method) there’s no need to cover it. – Meggan
I have a bread proof function on my gas stove. Once the bread has doubled in size what do I do with it while waiting for the oven to reach baking temperature
Hi Nancy, depending on the bread, I would recommend doing the shaping portion, closely covering it with plastic wrap, and setting it aside until the oven has reached baking temperature. If your dough gets bigger than desired during this time, you can reshape it some before baking. – Meggan
Thanks Meggan! Thorough and easy to follow information.
Thanks Debbi! -Meggan
Thank you for this guidance. My frozen cinnamon rolls didn’t proof overnight in the fridge. This guidance was great!
Could this be applied with sourdough breadmaking?
Hi Dorothy, yes! You will just want to make sure to follow the specific times on the recipe you are following to make sure the proofing time is correct. Happy baking! – Meggan