This post may contain affiliate links. For more information, please see our affiliate policy.
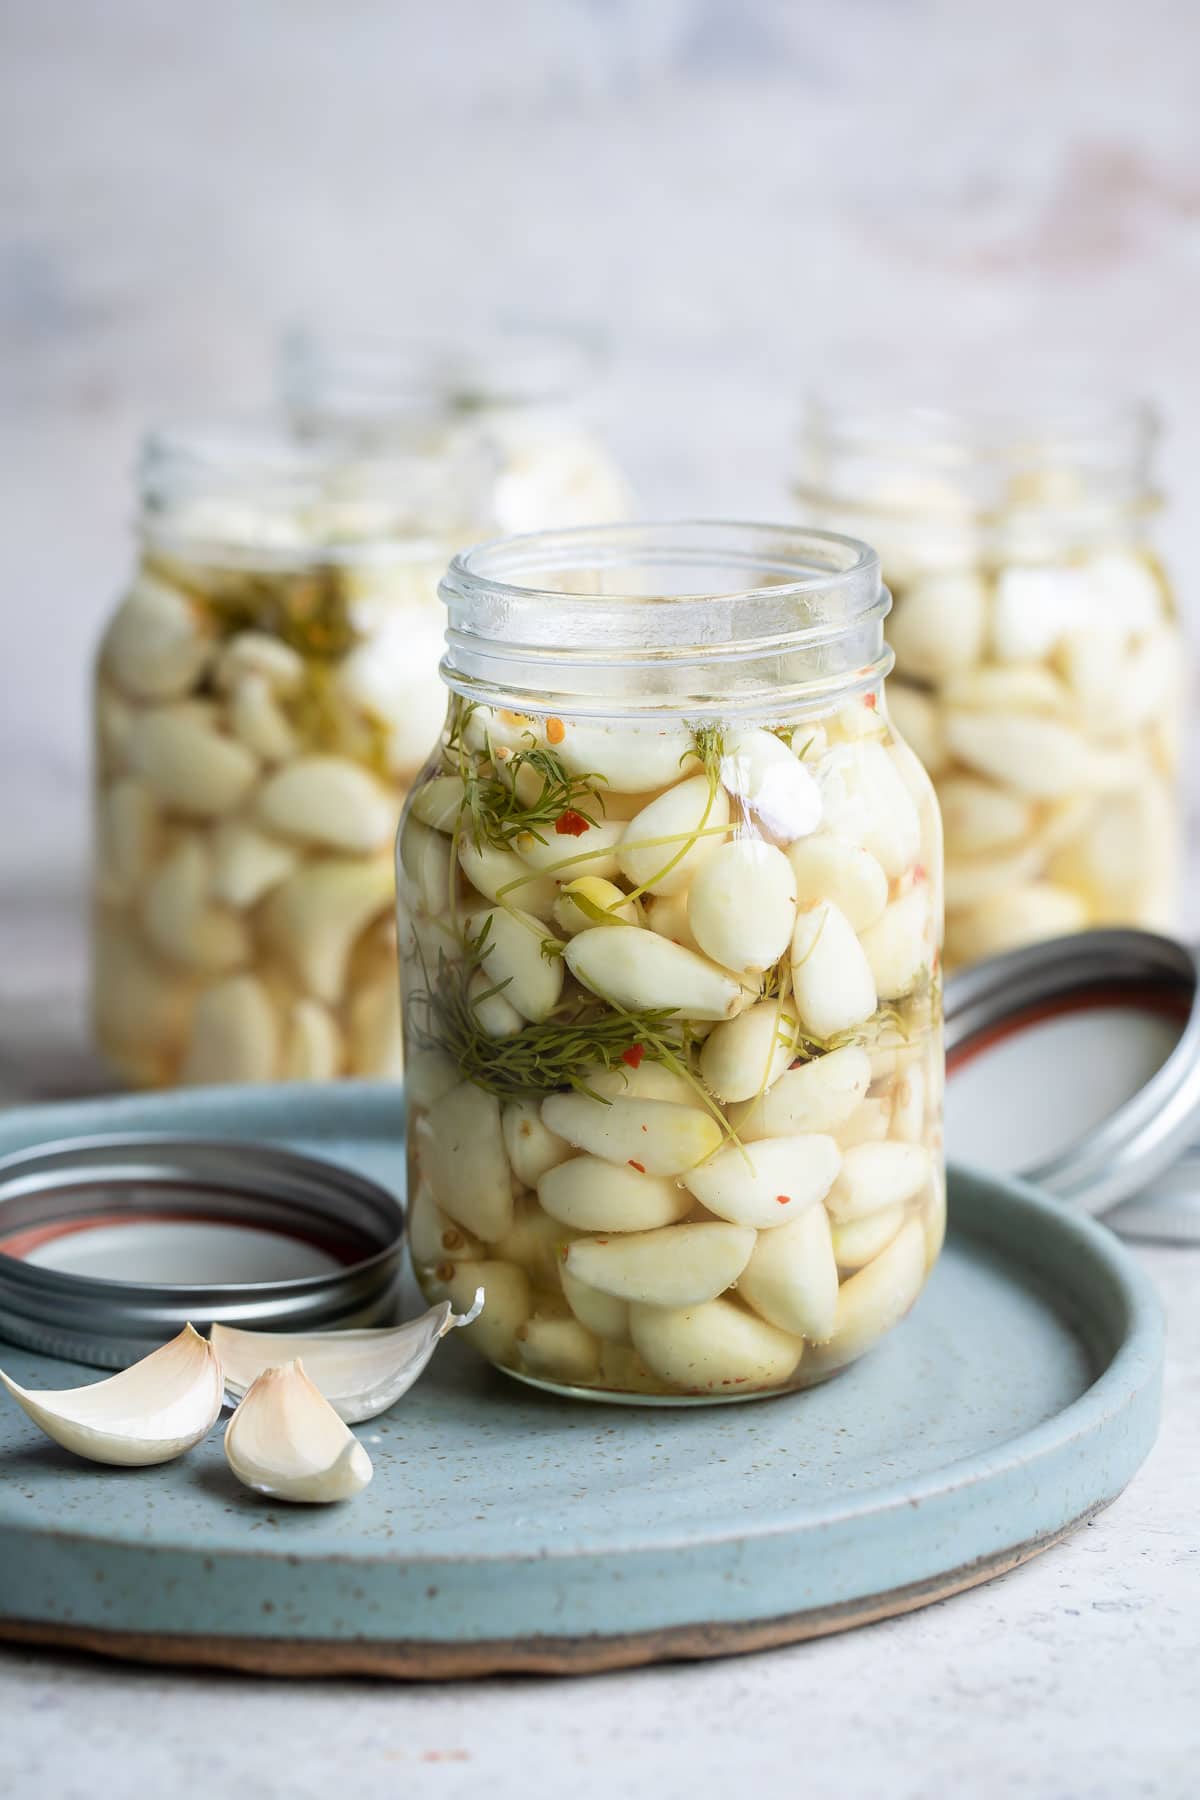
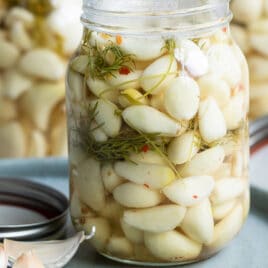
If you love pickles and you love garlic, this pickled garlic recipe is super simple to make and keeps in the refrigerator for a few months! Not suitable for canning.
Several years ago, I was discussing Dilly Beans with my mother-in-law. She made them for a church fundraiser, and she was planning to set aside a jar for me as a Christmas gift. Would I like a clove of garlic in my jar of Dilly Beans?
My response? “Could I please have a whole jar of Dilly Garlic?” I’m so grateful she agreed!
Table of Contents
Recipe ingredients
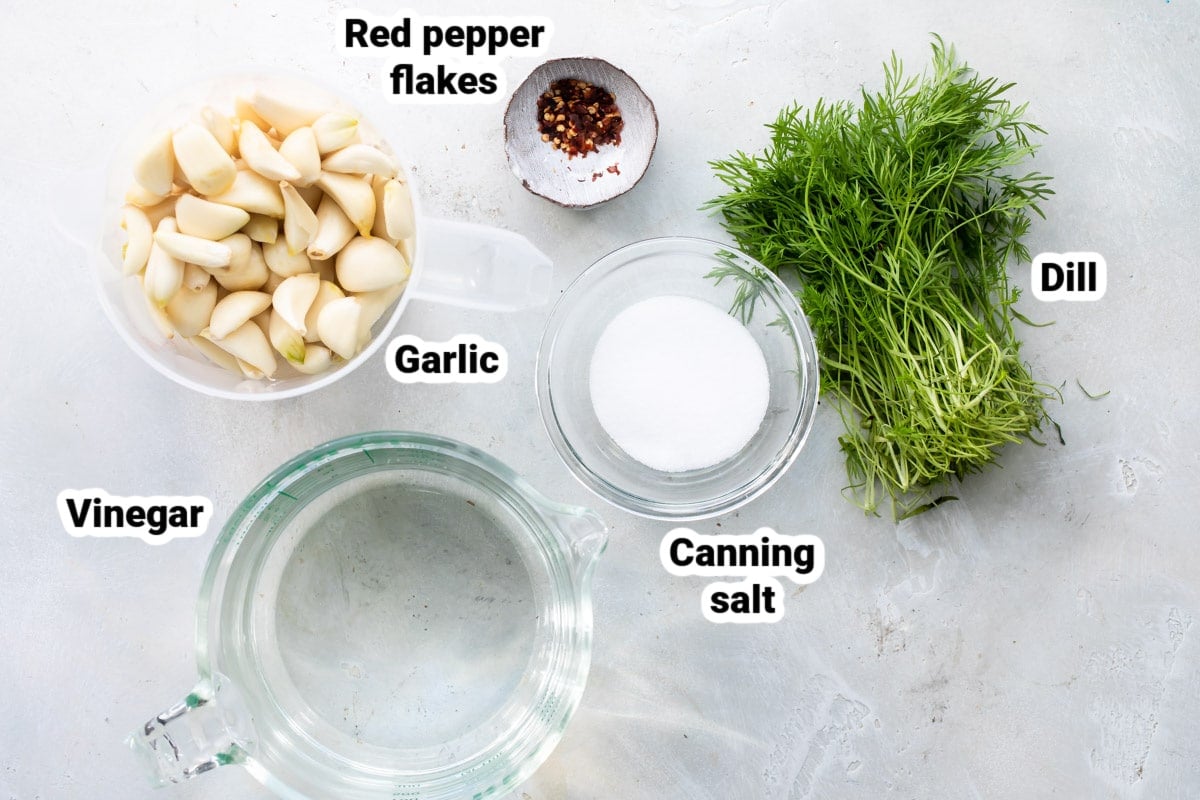
At a Glance: Here is a quick snapshot of what ingredients are in this recipe.
Please see the recipe card below for specific quantities.
Ingredient notes
- WARNING: This recipe is not suitable for shelf-stable canning. Obviously people (or companies) sell shelf-stable pickled garlic, but I am not an expert in this area and garlic has a propensity to develop botulism. So, if you make this recipe, you MUST store it in the refrigerator. Even if you seal the jars with a water bath. Refrigerate! “Canning of garlic is not recommended. Garlic is a low-acid vegetable that requires a pressure canner to be properly processed. Garlic loses most of its flavor when heated in this way. For this reason, adequate processing times have not been determined for canning garlic.”
Step-by-step instructions
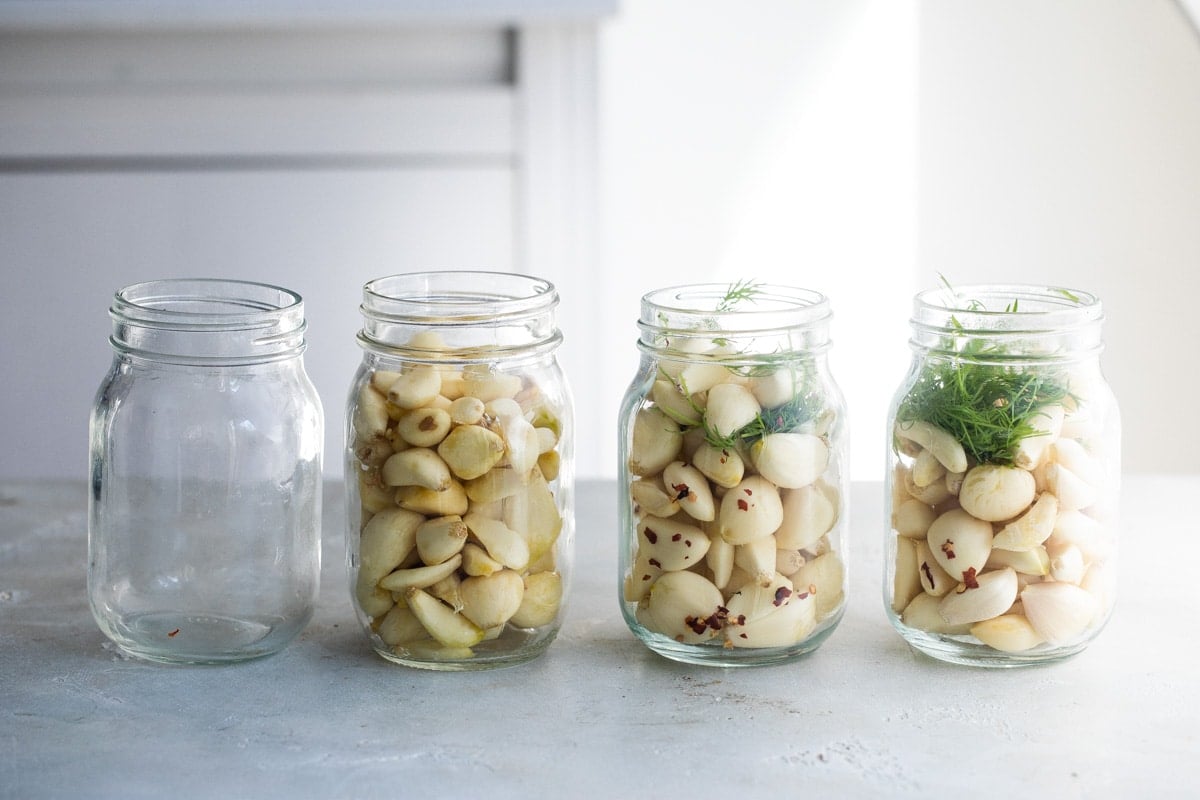
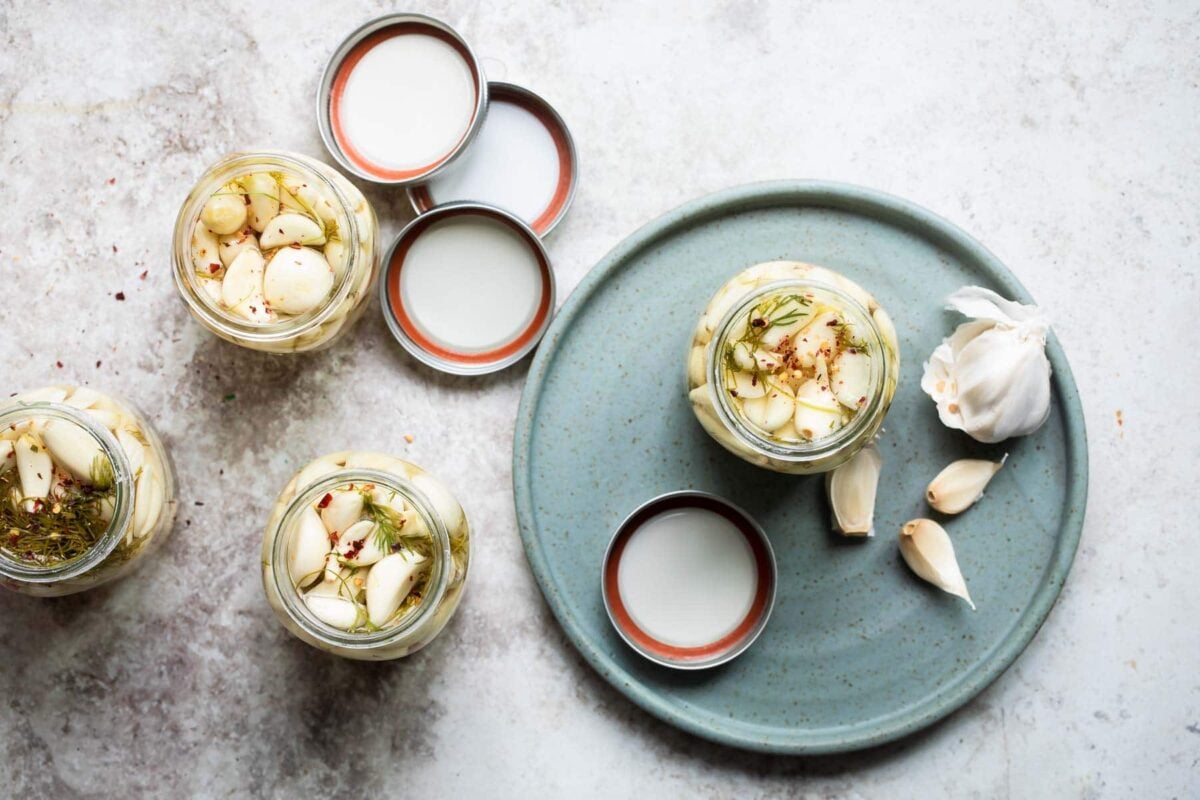
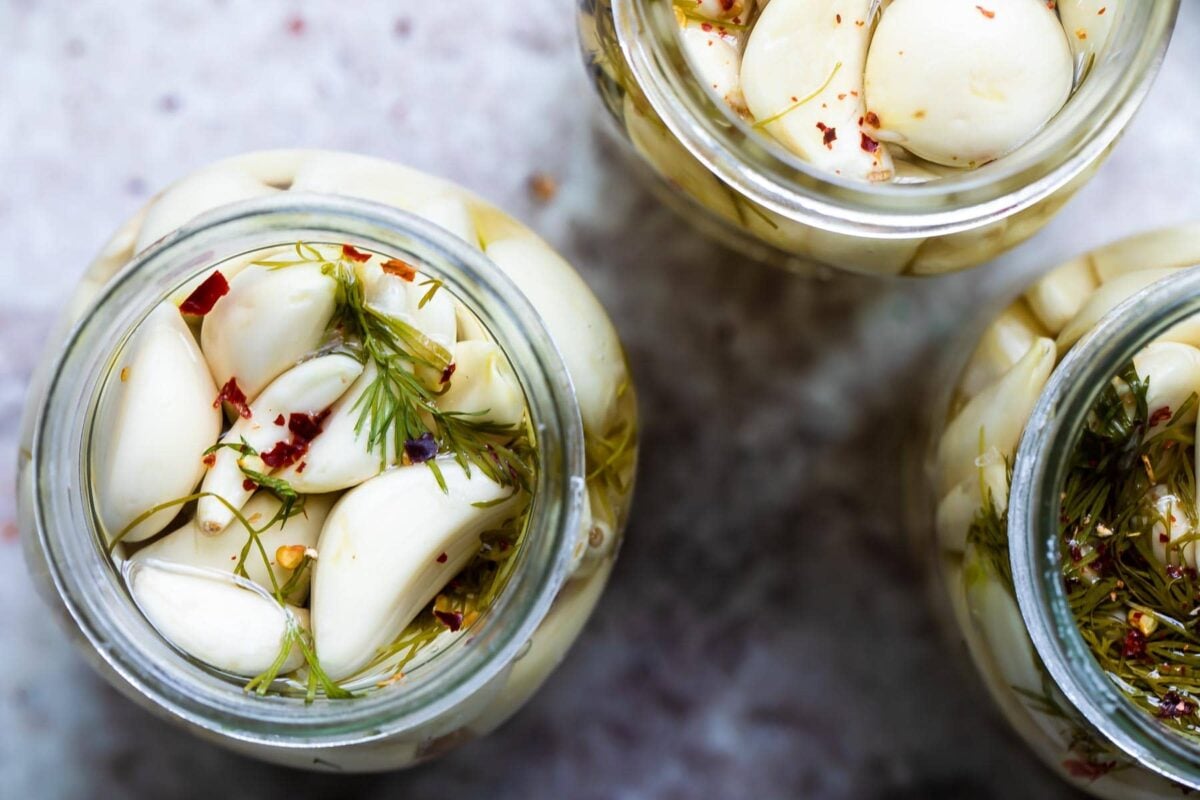
- Combine canning salt and vinegar in a large saucepan. Bring to boil; reduce heat and simmer 10 minutes (180 degrees). Meanwhile, pack garlic into 4 sterilized pint jars (about 8 ounces per jar) leaving 1/2-inch of headspace. Add ¼ teaspoon red pepper flakes and 1 head of dill to each jar. (If using fresh dill, add ½ cup to each jar.)
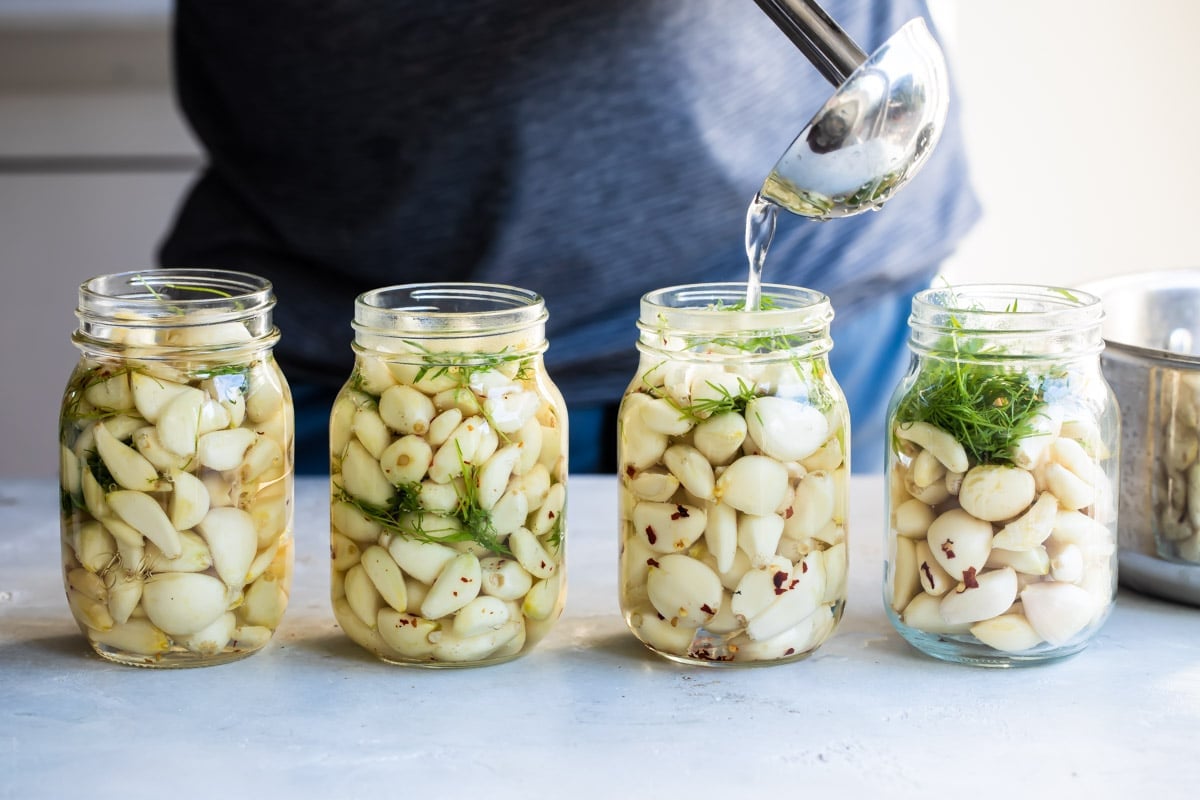
- Using a ladle, divide hot pickling liquid between the 4 jars, leaving 1/2-inch of headspace. Remove air bubbles, clean jar rims, center lids on jars, and adjust band to fingertip-tight.
- Chill in the refrigerator until pickled as desired (I recommend at least 3 weeks in the refrigerator). Store in refrigerator for up to 4 months (see notes) or seal jars following the instructions below (the pickled garlic must still be refrigerated; it will not be shelf-stable).
Recipe tips and variations
- Yield: This recipe makes 4 pints (8 cups), enough for 32 servings, ¼ cup each.
- Storage: The National Center for Home Food Preservation states that the garlic and vinegar mixture may be refrigerated for up to 4 months. It’s safe to use the flavored liquid for other things. Discard if you see any signs of mold or yeast growth.
- Blue garlic: Sometimes pickled garlic turns blue or turquoise when you pickle it. It’s completely normal and still safe to eat and you don’t need to worry. You can read all about the chemistry of garlic (and exactly why it may or may not turn blue). To prevent the bluish color:
- User kosher salt or sea salt to avoid iodine
- Use stainless steel or enamel cookware and utensils (avoid copper, aluminum, cast iron, and tin cookware and utensils)
- Reduce chlorophyll production by avoiding sunlight
- Use distilled water to avoid the trace minerals found in tap water
Bloody Mary Bar
Lazy weekends and holiday mornings call for a Bloody Mary Bar with homemade mix and all the savory pickled stuff you can find. It’s a total crowd-pleaser; from the purists to the meal-in-a-glass folks, everyone…
View Recipe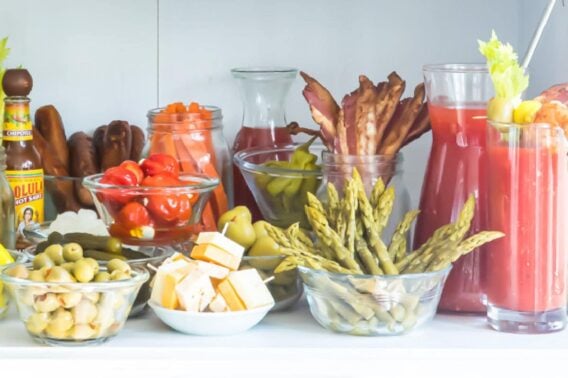
Put your pickled garlic to work
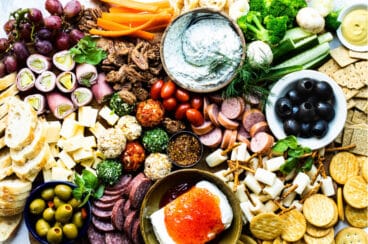
Entertaining
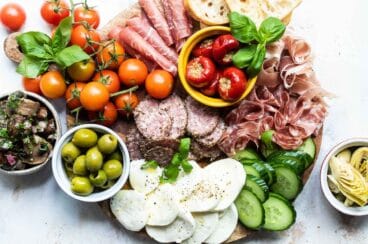
Midwest Charcuterie Board
Italian Recipes
Antipasto Platter

Appetizer Recipes
Jarcuterie

Appetizer Recipes
Ham Roll Ups
Join Us
Pickled Garlic
Equipment
Ingredients
- 1/4 cup canning salt
- 5 cups white vinegar
- 2 pounds fresh garlic peeled
- 1 teaspoon crushed red pepper flakes
- 4 heads fresh dill or 2 cups fresh dill, stems and leaves coarsely chopped
Instructions
- Combine canning salt and vinegar in a large saucepan. Bring to boil; reduce heat and simmer 10 minutes (180 degrees).
- Meanwhile, pack garlic into 4 sterilized pint jars (about 8 ounces per jar) leaving 1/2-inch of headspace. Add ¼ teaspoon red pepper flakes and 1 head of dill to each jar. (If using fresh dill, add ½ cup to each jar.)
- Using a ladle, divide hot pickling liquid between the 4 jars, leaving 1/2-inch of headspace. Remove air bubbles, clean jar rims, center lids on jars, and adjust band to fingertip-tight.
- Chill in the refrigerator until pickled as desired (I recommend at least 3 weeks in the refrigerator). Store in refrigerator for up to 4 months (see notes) or seal jars following the instructions below (the pickled garlic must still be refrigerated; it will not be shelf-stable).
To seal jars (MUST BE REFRIGERATED, NOT SHELF-STABLE):
- Process jars in boiling water for 10 minutes. The jars must be covered by at least 1 inch of water. Turn off heat and remove cover. Let jars cool 5 minutes. Cool 12 hours. Check seals. Chill in the refrigerator until pickled as desired (I recommend at least 3 weeks in the refrigerator). Store in refrigerator for up to 4 months (see notes).
Recipe Video
Notes
- WARNING: This recipe is not suitable for shelf-stable canning. Obviously people (or companies) sell shelf-stable pickled garlic, but I am not an expert in this area and garlic has a propensity to develop botulism. So, if you make this recipe, you MUST store it in the refrigerator. Even if you seal the jars with a water bath. Refrigerate! “Canning of garlic is not recommended. Garlic is a low-acid vegetable that requires a pressure canner to be properly processed. Garlic loses most of its flavor when heated in this way. For this reason, adequate processing times have not been determined for canning garlic.”
- Yield: This recipe makes 4 pints (8 cups), enough for 32 servings, ¼ cup each.
- Storage: The National Center for Home Food Preservation states that the garlic and vinegar mixture may be refrigerated for up to 4 months. It’s safe to use the flavored liquid for other things. Discard if you see any signs of mold or yeast growth.
- Blue garlic: Sometimes pickled garlic turns blue or turquoise when you pickle it. It’s completely normal and still safe to eat and you don’t need to worry. You can read all about the chemistry of garlic (and exactly why it may or may not turn blue). To prevent the bluish color:
- User kosher salt or sea salt to avoid iodine
- Use stainless steel or enamel cookware and utensils (avoid copper, aluminum, cast iron, and tin cookware and utensils)
- Reduce chlorophyll production by avoiding sunlight
- Use distilled water to avoid the trace minerals found in tap water.
Nutrition
Meggan Hill is a classically-trained chef and professional writer. Her meticulously-tested recipes and detailed tutorials bring confidence and success to home cooks everywhere. Meggan has been featured on NPR, HuffPost, FoxNews, LA Times, and more.
Hi! May I know how I can ensure that the pickled garlic come out crunchy and not mealy? Does it have to do with the freshness of the garlic? Or will heat end up cooking the garlic cloves, making it soft? I’m hoping the garlic comes out crunchy. Thanks!
Hi Carolyn! In my experience, the cloves of garlic in this recipe come out crunchy. The reason is, it’s more of a “quick pickle” situation and you aren’t canning or using a water bath. You don’t cook the garlic in the brine either, you just pour the brine over the top. I have a similar method for pickling shallots and onions and they come out crunchy. I don’t know if super old garlic would ultimately become soft. I don’t have enough experience in pickling garlic to know for sure. Sorry about that. I do know this recipe doesn’t cook the garlic and it always comes out crunchy for me, but that could very well be due to circumstances I don’t fully understand. Thank you! -Meggan
Is it okay to substitute a bit of dried dill in place of fresh?
Yes of course! It has a different flavor, but you’ll be fine. The technical conversion would be 1/2 cup fresh dill per each of 4 jars which comes out to 2 tablespoons dried dill per each of 4 jars. That sounds like a lot to me, so feel free to follow your gut here. I would say at least 1 tbsp dried dill per jar, not more than 2 tbsp. dried dill per jar. Or use whatever you think sounds right! Thank you Shell! -Meggan
Is there water added to the brine?
Hi Stephanie, the pickling liquid is canning salt and vinegar. It used to call for half water and half vinegar, but based on testing and feedback, it’s been updated to use all vinegar. If you prefer to pickle with half water/half vinegar, make sure it’s distilled to prevent the garlic from turning blue. – Meggan
I raise a lot (!) of garlic, and used this recipe once before. Trust me, it’s addicting! The hardest part is waiting 2 to 3 weeks! I go two weeks for the batch I made with smaller cloves, three weeks for the larger cloves. I grow several varieties of garlic, which has pretty much self seeded. I do replant larger cloves in rows just for convenience. Love these with pickled, beet colored turnips, and hummus!
Sounds delicious, David! Thank you for sharing your garlic endeavors with me! I’m happy this recipe has helped you with the bounty of garlic you grow! Thank you again and take care! – Meggan
Hi, Meggan. I tried your recipe but I was wondering if the brine is not super hot will that have any affect on how they turn out?
Hi Steve, the heat allows the brine to absorb the flavors. You might find your pickled garlic is less flavorful. I hope they still turn out great! – Meggan