This post may contain affiliate links. For more information, please see our affiliate policy.
This easy Sloppy Joe Casserole Recipe is perfect for those times when you want to eat Sloppy Joes on a fork instead of on a bun. Based on my wildly popular Sloppy Joe recipe, it’s made all in one pot and ready in 30 minutes or less, start to finish.
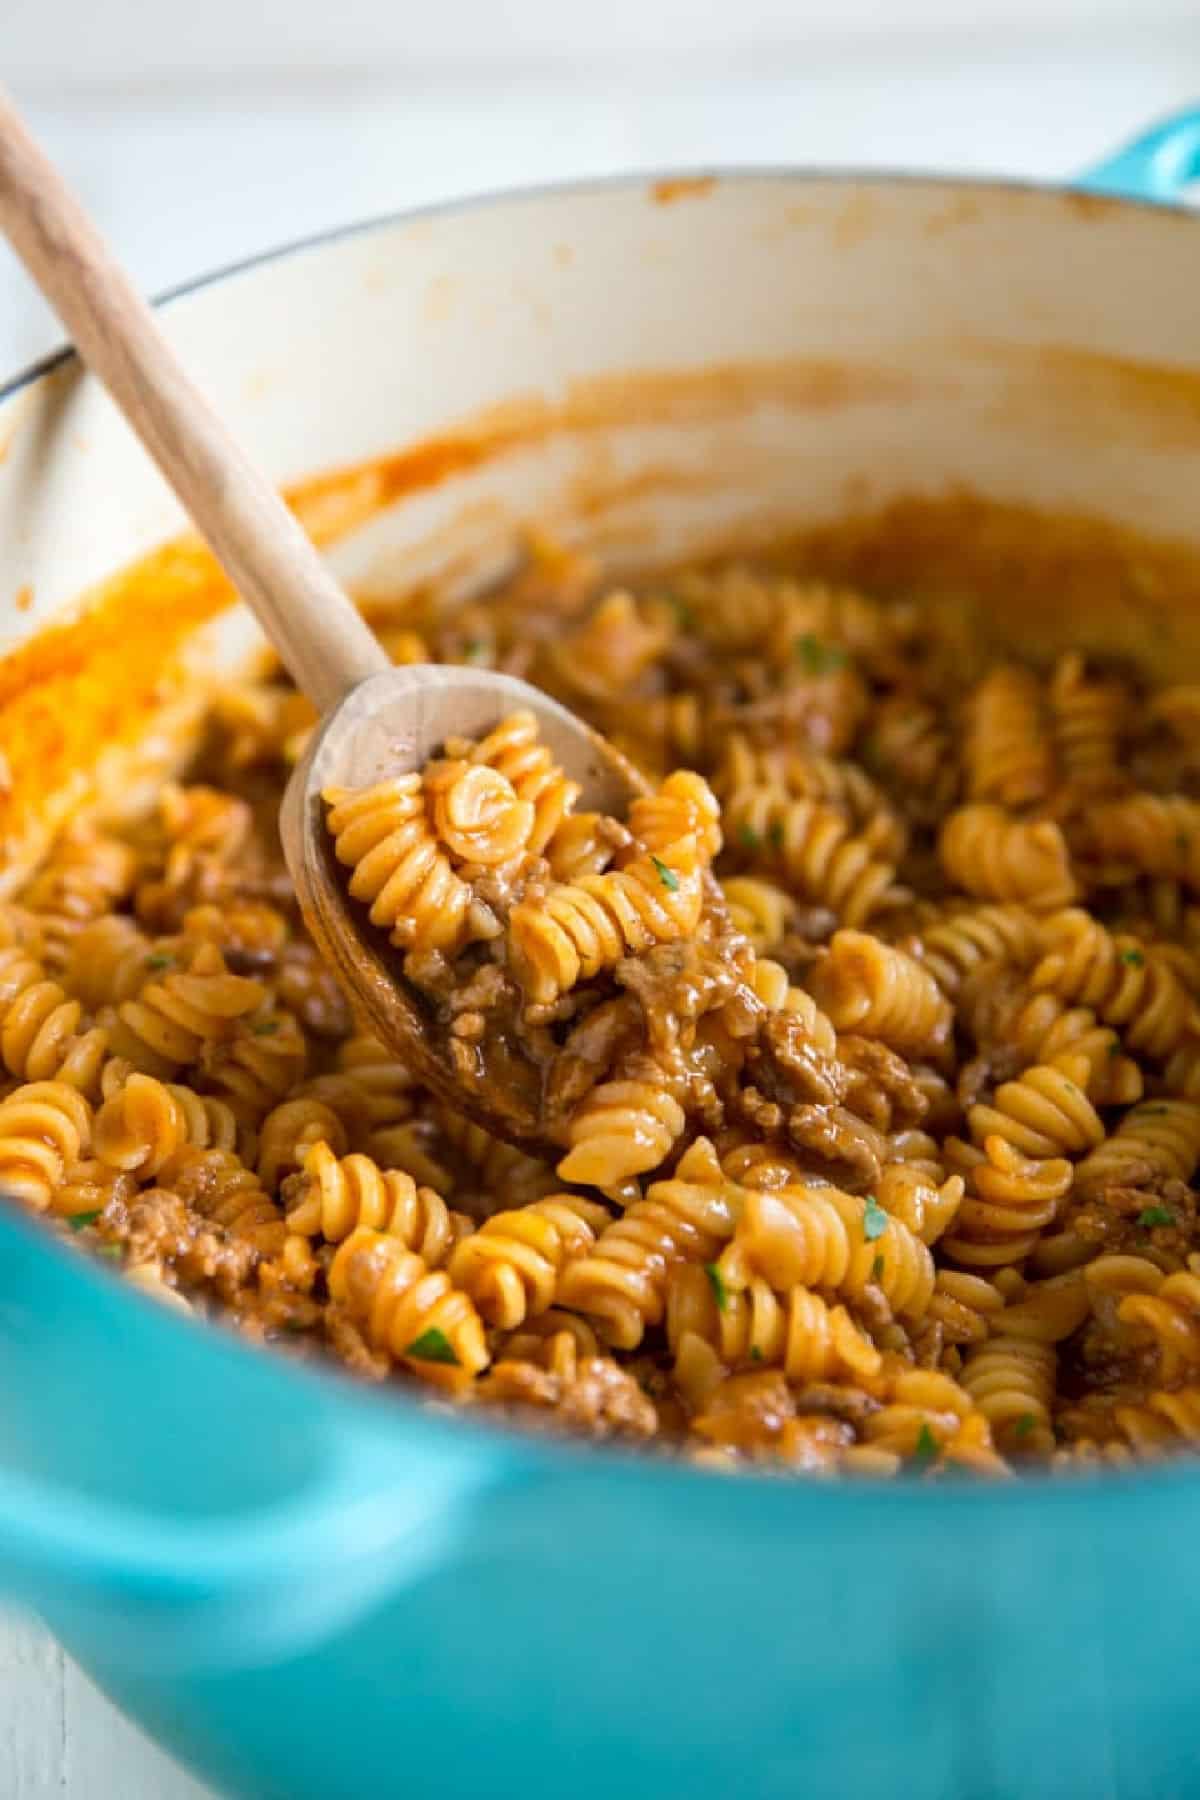
Table of Contents
Ingredient notes
- Ground beef: Or substitute ground turkey or venison.
- Onion: Finely chopped celery and a green bell pepper are great too!
- Brown sugar: Even a tablespoon is too much for some people, so just leave it out if it sounds horrible to you.
- Worcestershire sauce: In a pinch, you can substitute soy sauce.
- Ground mustard: Or substitute an equal amount of prepared yellow mustard or Dijon mustard.
Step-by-step instructions
- In a large saucepan or Dutch oven over medium-high heat, add beef and onion and stir to combine. Brown ground beef until cooked through, about 5 minutes. Drain well.
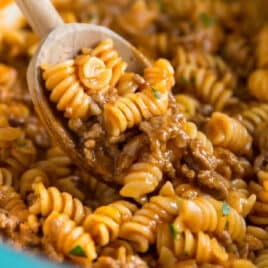
- To the pot with the drained beef mixture, add pasta, chicken broth, tomato sauce, ketchup, brown sugar, white vinegar, Worcestershire sauce, and dried mustard. Bring to a boil, reduce heat, and simmer uncovered until pasta is al dente, about 10 to 12 minutes.
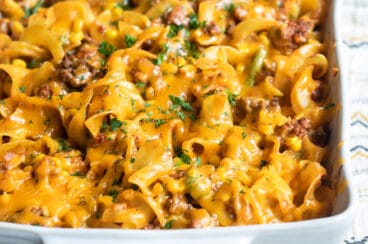
- Season the sloppy joe meat to taste with salt and pepper (I like ½ teaspoon salt and ¼ teaspoon pepper). Serve with cheddar cheese and hot sauce if desired and garnish with fresh parsley.
Recipe tips and variations
- Yield: This Sloppy Joe Casserole makes over 8 cups of casserole (not including the cheese), enough for 8 servings, 1 cup each.
- Storage: Store leftovers in an airtight container in the fridge for up to 4 days.
- Freezer: This a great freezer meal to keep on hand. Freeze the whole casserole covered in plastic wrap or aluminum foil or divide into smaller portions. Label, date, and freeze for up to 3 months. Thaw overnight in the refrigerator and reheat in the microwave.
- Cheese on top: Sprinkle the top of your finished casserole with shredded cheddar or Colby-jack cheese, then cover until melted through, about 5 minutes.
- Bread crumb topping: Just like baked mac and cheese, Sloppy Joe Casserole is fancy with a buttery crumb crust. Transfer the finished casserole to a baking dish, add your buttered crumbs, and bake at 350 degrees for about 30 minutes.
- Spicy flavor: If you love some heat, throw in a tablespoon of ancho chili powder, a teaspoon of ground cumin, or a couple of chipotle chilies in adobo. Don’t forget to pass the hot sauce, too!
- Sloppy Joe Casserole with BBQ sauce: Your favorite barbecue sauce can be added in place of ketchup for a sweet and smoky taste.
- Sloppy Joe tater tot casserole: Skip the pasta and spoon the meat mixture and sloppy joe sauce into a casserole dish. Top with frozen tater tots and bake at 375 degrees for 40 to 50 minutes. Inspired by the classic Tater Tot Casserole.
- Philly Cheesecake Sloppy Joes: This recipe combines two family favorites into one crazy delicious sandwich you’ll be asked (begged) to make on a regular basis. It’s lightning-fast to make, in a skillet or crockpot, and is a sure thing with kids and adults alike.
Frequently Asked Questions
According to legends, Sloppy Joes are the offspring of Iowa’s famous Loose Meat Sandwiches. An enterprising cook named Joe, at Floyd Angell’s cafe in Sioux City, Iowa, added tomato sauce to his version of Loose Meat Sandwiches.
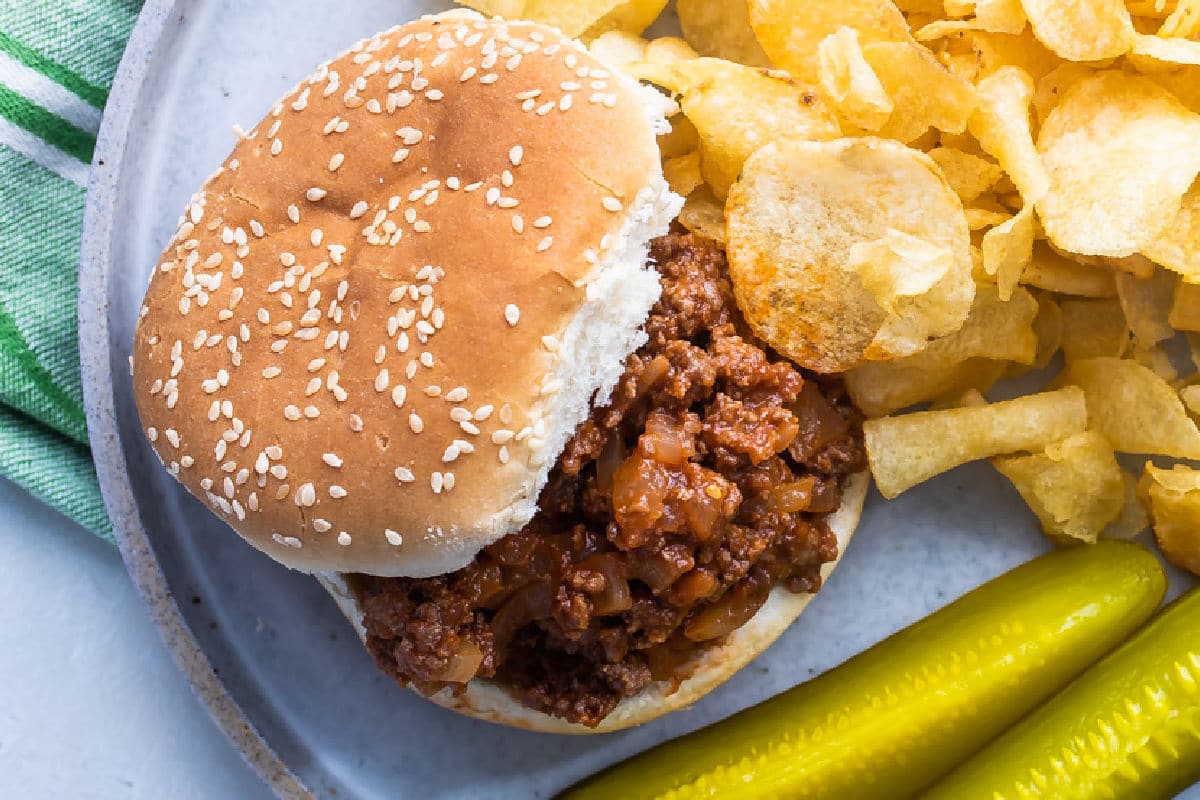
It’s easy to see why people have loved Sloppy Joes. It’s simply a thrifty, filling, and delicious meal. Swapping out the buns for noodles makes it even easier to eat, especially if you don’t have buns around.
Manwich is a specific food product that is marked as Sloppy Joe filling. However, as many commenters will attest, you needn’t open that can of Manwich ever again. This recipe is easy and delicious and miles ahead of Manwich sauce!
More ground beef recipes
Join Us
Sloppy Joe Casserole Recipe
Ingredients
- 1 pound ground beef (see note 1)
- 1 small onion finely chopped (see note 2)
- 1 pound cavatappi pasta or other small pasta
- 4 cups chicken broth or water
- 8 ounces tomato sauce
- 1/2 cup ketchup
- 1 tablespoon brown sugar (see note 3)
- 1 tablespoon white vinegar
- 1 tablespoon Worcestershire sauce (see note 4)
- 1 teaspoon dried mustard (see note 5)
- Salt and freshly ground black pepper
- 2 cups shredded cheddar cheese for serving, optional
- hot sauce for serving, optional
- 2 tablespoons minced fresh parsley for garnish, optional
Instructions
- In a large saucepan or Dutch oven over medium-high heat, add beef and onion and stir to combine. Cook until the meat is mostly browned, about 5 minutes. Drain well.
- To the pot with the drained beef, add pasta, chicken broth, tomato sauce, ketchup, brown sugar, white vinegar, Worcestershire sauce, and dried mustard. Bring to a boil, reduce heat, and simmer uncovered until pasta is tender, about 10 to 12 minutes.
- Season to taste with salt and pepper (I like ½ teaspoon salt and ¼ teaspoon pepper). Serve with cheddar cheese and hot sauce if desired and garnish with fresh parsley.
Notes
- Ground beef: Or substitute ground turkey or venison.
- Onion: Finely chopped celery and a green bell pepper are great too!
- Brown sugar: Even a tablespoon is too much for some people, so just leave it out if it sounds horrible to you.
- Worcestershire sauce: In a pinch, you can substitute soy sauce.
- Ground mustard: Or substitute an equal amount of prepared yellow mustard or Dijon mustard.
- Yield: This Sloppy Joe Casserole makes over 8 cups of casserole (not including the cheese), enough for 8 servings, 1 cup each.
- Storage: Store leftovers covered in the refrigerator for up to 4 days.
Nutrition
Meggan Hill is a classically-trained chef and professional writer. Her meticulously-tested recipes and detailed tutorials bring confidence and success to home cooks everywhere. Meggan has been featured on NPR, HuffPost, FoxNews, LA Times, and more.
I received this email in an eblast right before dinner. I made it, which was super quick and easy. The whole family loved it and requested it on the “rotation”. Thanks!
Wow! I’m so glad everyone loved it! -Meggan
Why do you drain the hamburger after onions onions were in it.? One just lost all that flavor.
Wouldn’t it be nice to cook them separate then drain hamburger and combine?
Hi Dan, I’m actually a fan of NOT draining it at all because the fat has a lot of flavor. However, I also think the beef gets some of the flavor from the onion. I think overall cooking them separately would be a barrier to people who want easy recipes. You are clearly a go-to cook who is willing to take extra steps like that which I appreciate. I’ll put this on the list to test both ways (cooking them separately, cooking it as written) and compare the flavor. The first step I will take, though, is to make the draining step optional. Personally I wouldn’t do that, having gone to culinary school. But, I wrote this recipe before that so I didn’t know at the time. I appreciate your feedback! I look forward to finding out how different they taste. Thanks for the suggestion! -Meggan
Great recipe!