This post may contain affiliate links. For more information, please see our affiliate policy.
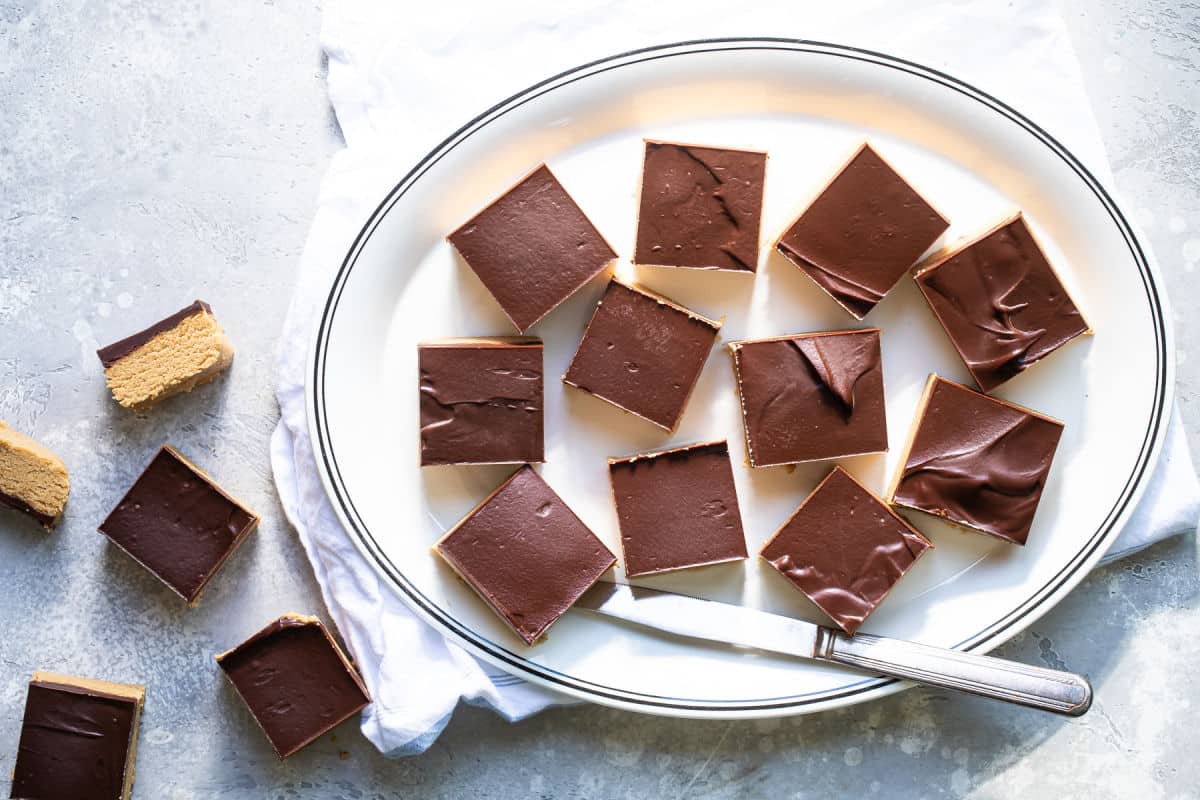
People go wild for these No-Bake Peanut Butter Bars! They only take 5 ingredients and 10 minutes (plus chilling time) to make, and they take just seconds to disappear. This is my grandma’s recipe which she dubbed “Almost Reese’s.”
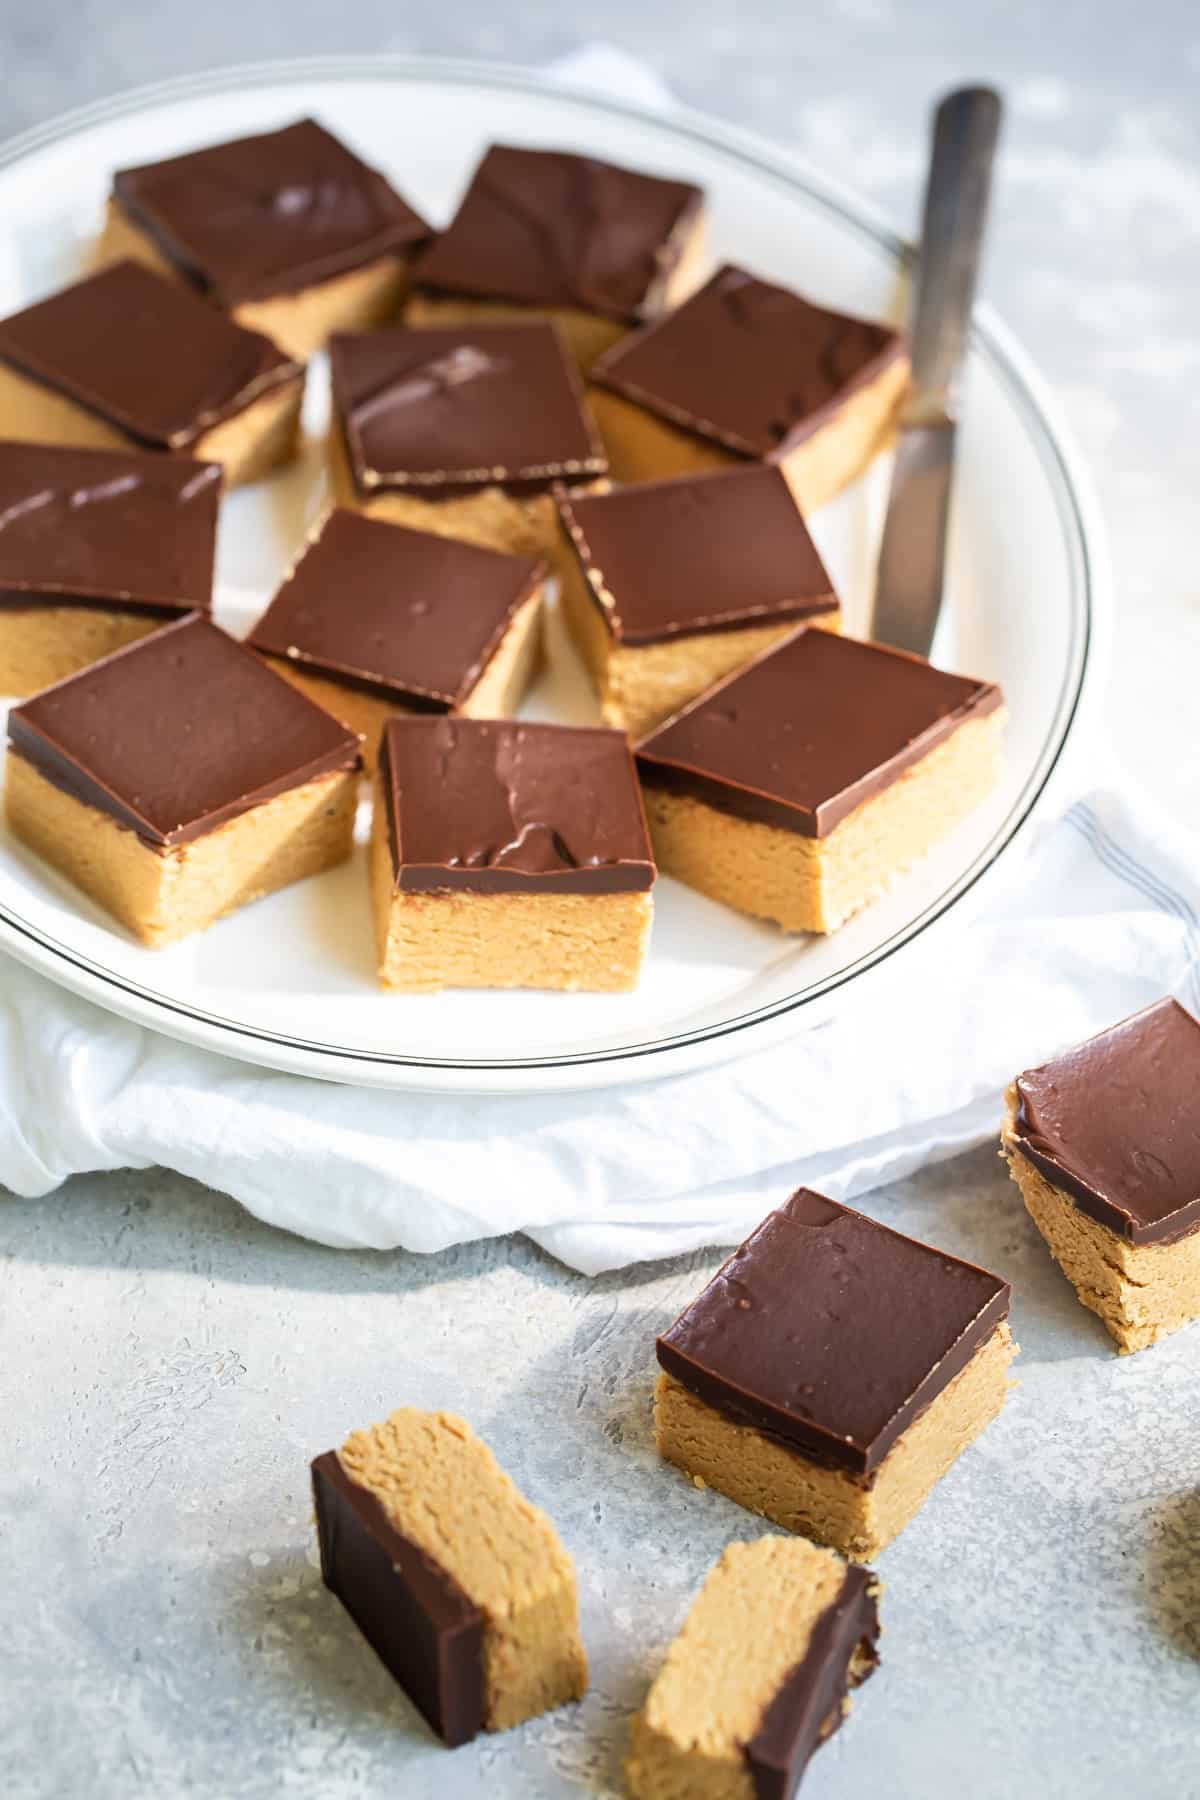
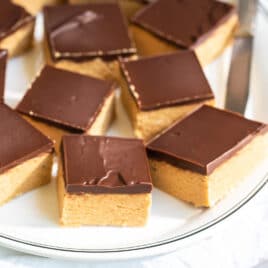
These no-bake peanut butter bars are a must-make for anyone who loves the timeless combination of chocolate and peanut butter.
I’ve had this recipe on my site for years, and it’s always been popular. The only issue is, some readers complained the peanut butter mixture was “grainy” if the brown sugar didn’t dissolve properly in the melted butter.
We reworked the recipe and swapped out all the brown sugar for an equal amount of graham cracker crumbs. I personally think it’s better (sorry grandma!) and there are no issues with graininess anymore. I hope you love it! And if you like the old way better, you can continue to 1 ½ cups brown sugar instead of the graham cracker crumbs.
Table of Contents
Recipe ingredients
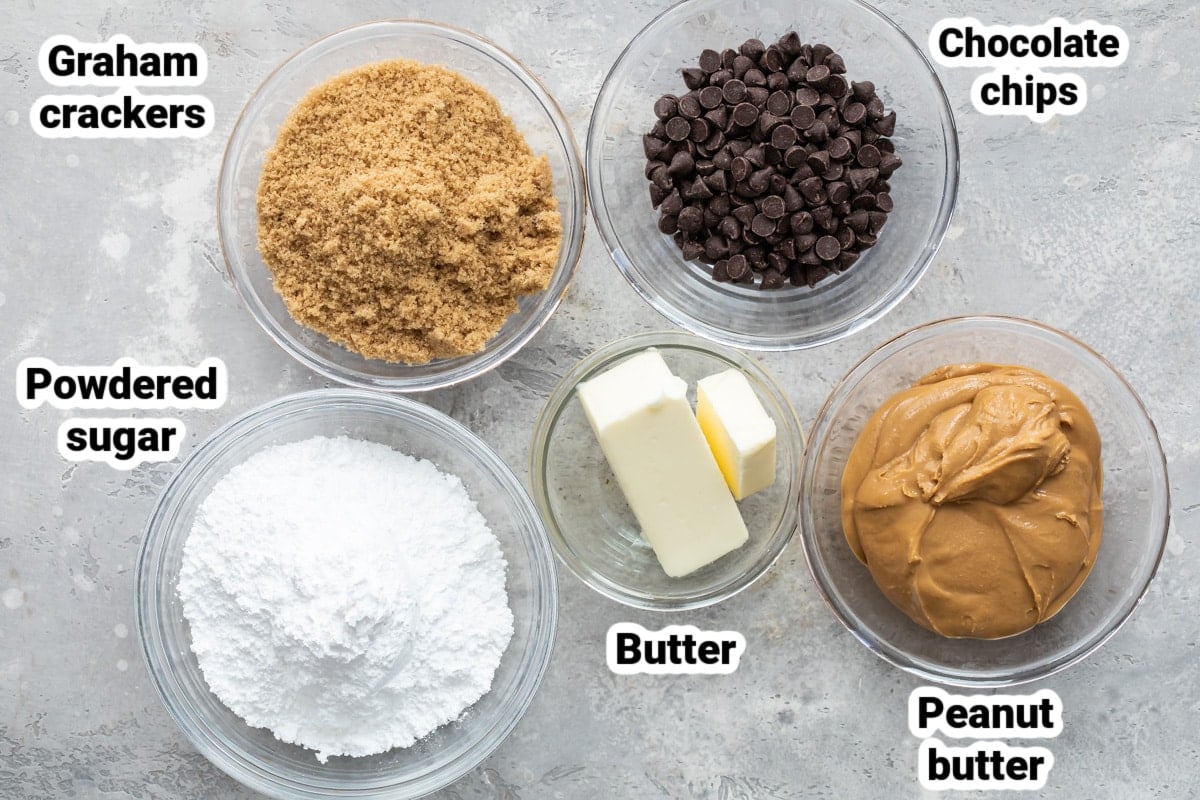
At a Glance: Here is a quick snapshot of what ingredients are in this recipe.
Please see the recipe card below for specific quantities.
Ingredient notes
- Butter: Cold butter usually softens up in about 30 minutes when left out at room temperature (much longer if frozen). To soften butter in the microwave, cut each stick of butter in half, unwrap, and place on a microwave-safe plate. Then cook the butter at 10% power (that’s ten percent!) for 1 minute. Afterward, gently press on the butter with your finger. If still too firm, cook for another 40 seconds at 10% power.
- Graham cracker crumbs: The original version of this recipe was prone to grittiness (the brown sugar would not always dissolve completely in the melted butter). To fix this issue, we updated the recipe to use graham cracker crumbs instead of brown sugar, and it’s fabulous. But if you miss the old way, just substitute an equal amount of brown sugar for the graham cracker crumbs.
- Peanut butter: I use store-bought peanut butter for this recipe, and Skippy is my favorite brand.
- Chocolate: I like regular semi-sweet chocolate chips, but you can use milk chocolate if you prefer that.
Step-by-step instructions
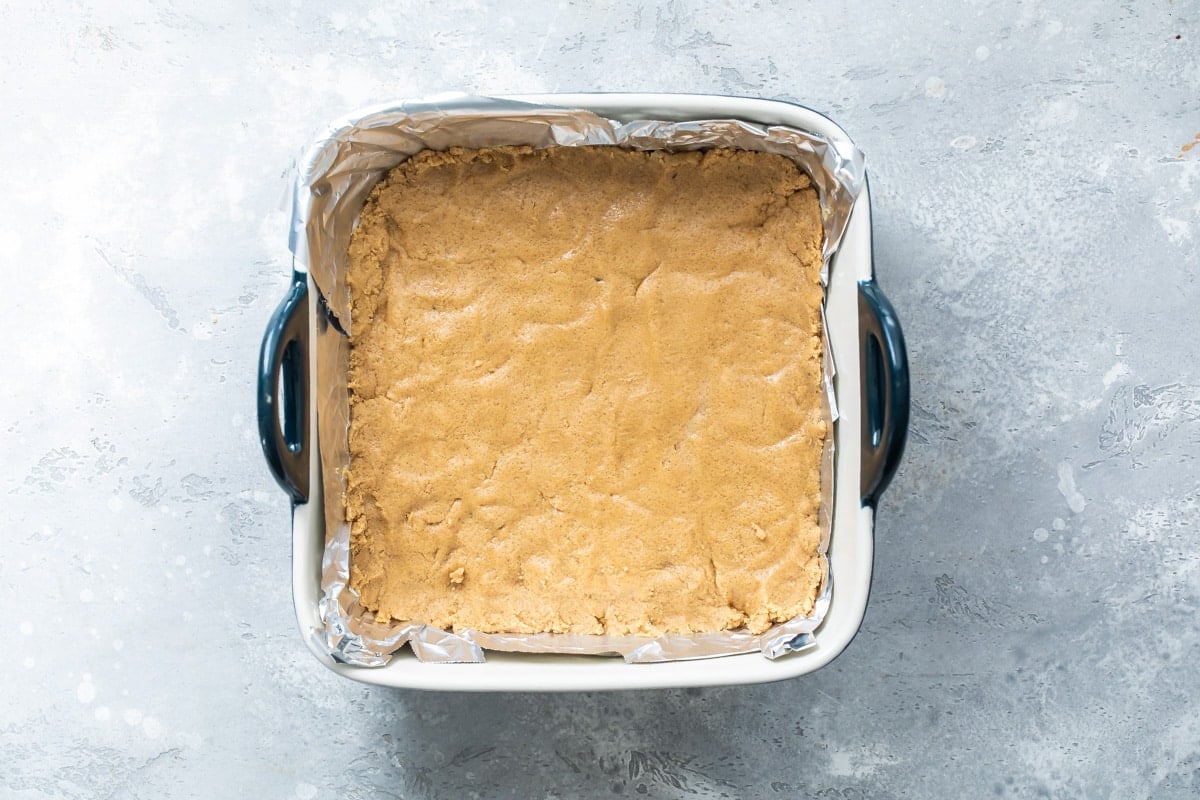
- Line an 8-inch or 9-inch square baking pan with a foil sling for easy cleanup and coat with nonstick spray. In a large bowl, cream 5 tablespoons butter, graham crackers, and powdered sugar until smooth. Stir in peanut butter.
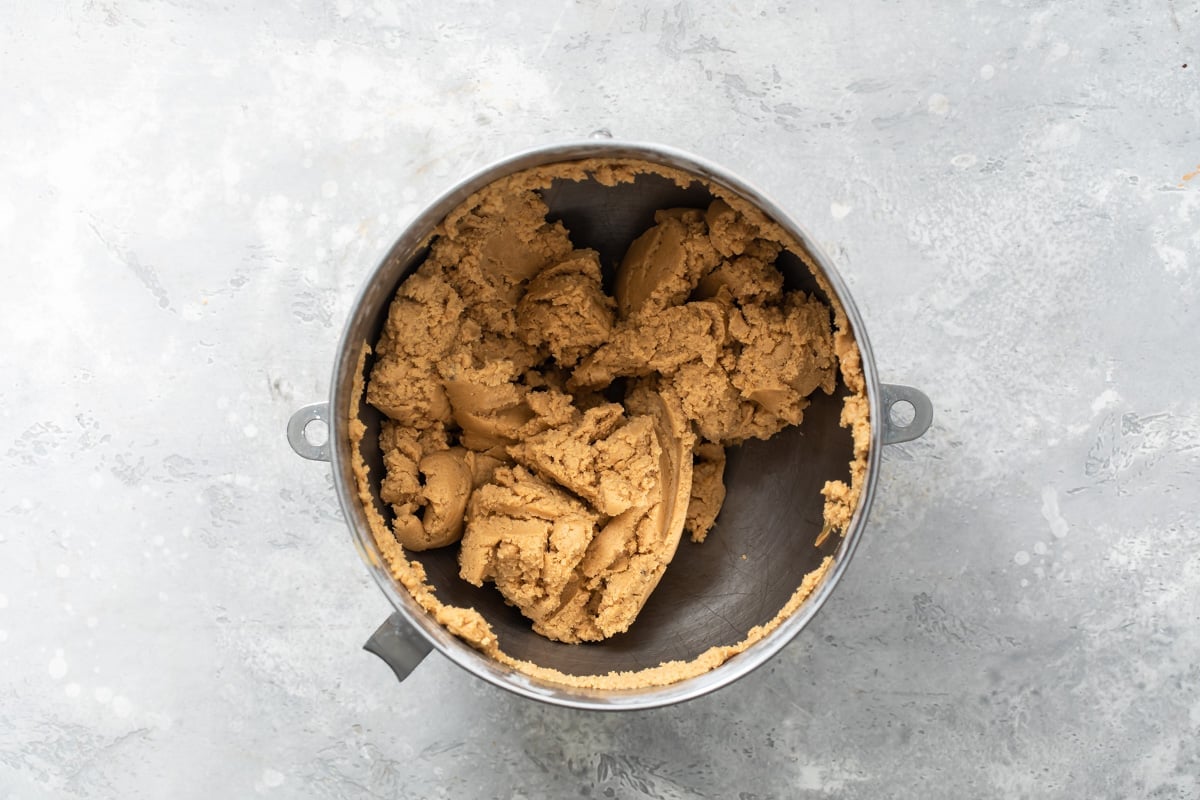
- Mix well and press into prepared pan.
- In a small, microwave-safe bowl, heat chocolate chips and remaining 5 tablespoons butter for 1 minute. Stir carefully and continue to microwave in 30-second increments until smooth, stirring after each increment. Pour over peanut butter filling and spread evenly.

- Chill until completely firm, at least 3 hours or overnight. Let stand 10 minutes at room temperature before serving. Store leftovers in the refrigerator.
Recipe tips and variations
- Yield: I calculated the yield based on using an 8-inch by 8-inch pan and cutting the bars into 2-inch squares. This makes 16 bars. Your yield may vary depending on which size pan you use and how you cut the bars. The bars are very rich, so smaller pieces may be appreciated by some guests.
- Storage: Store covered in the refrigerator for 2 to 3 weeks. Or, if you live in a cold climate and the temperature is 40 degrees or less, feel free to store these in the pan in your garage or on your patio.
- Make ahead: These bars need some time to set up, so plan on chilling them at least a few hours, preferably overnight.
- Freezer: The Peanut Butter Bars can be frozen for up to 2 months. You can either freeze them unsliced in the pan, or slice them into pieces and store them in layers between parchment paper.
Recipe FAQs
Some cooks prefer crunchy peanut butter for the bottom layer, and even chop up peanuts for pressing over the warm chocolate before it sets up. Get creative!
If I’m using a 9″x 13″ baking pan for this recipe, I will usually make a double batch. BUT, readers have used a larger pan for a single recipe and have been happy too, claiming it makes a thinner bar that is more like the real thing.
Christmas Crack
You’ll love this salty, sweet, crunchy, chewy saltine cracker candy, sometimes known as Christmas Crack, and you can make it in 15 minutes with just 5 ingredients! I grew up eating Saltine Cracker Candy every…
View Recipe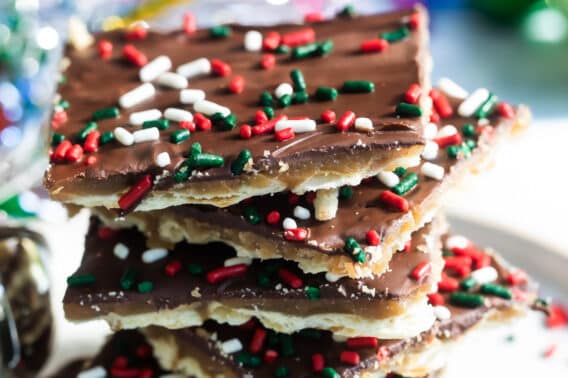
More homemade confections
Candy Recipes
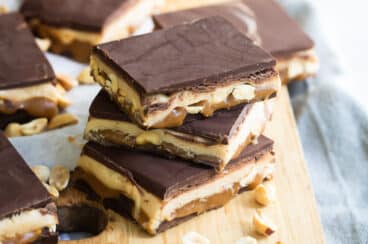
Homemade Snickers Bars

Candy Recipes
OREO Cookie Balls

Candy Recipes
No Bake Peanut Butter Balls
Candy Recipes
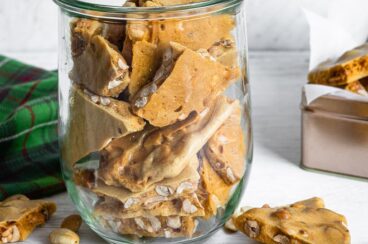
Microwave Peanut Brittle
Join Us
No Bake Peanut Butter Bars
Ingredients
- 10 tablespoons butter room temperature, divided (see note 1)
- 1 1/2 cups graham cracker crumbs (see note 2)
- 1 3/4 cups powdered sugar
- 1 1/2 cups peanut butter (see note 3)
- 1 cup semi-sweet chocolate chips or milk chocolate chips (see note 4)
Instructions
- Line an 8-inch or 9-inch square baking pan with a foil sling for easy cleanup and coat with nonstick spray.
- In a large bowl, cream 5 tablespoons butter, graham crackers, and powdered sugar until smooth. Stir in peanut butter. Mix well and press into prepared pan.
- In a small, microwave-safe bowl, heat chocolate chips and remaining 5 tablespoons butter for 1 minute. Stir carefully and continue to microwave in 30-second increments until smooth, stirring after each increment. Pour over peanut butter filling and spread evenly.
- Chill until completely firm, at least 3 hours or overnight. Let stand 10 minutes at room temperature before serving. Store leftovers in the refrigerator.
Recipe Video
Notes
- Butter: Cold butter usually softens up in about 30 minutes when left out at room temperature (much longer if frozen). To soften butter in the microwave, cut each stick of butter in half, unwrap, and place on a microwave-safe plate. Then cook the butter at 10% power (that’s ten percent!) for 1 minute. Afterward, gently press on the butter with your finger. If still too firm, cook for another 40 seconds at 10% power.
- Graham cracker crumbs: The original version of this recipe was prone to grittiness (the brown sugar would not always dissolve completely in the melted butter). To fix this issue, we updated the recipe to use graham cracker crumbs instead of brown sugar, and it’s fabulous. But if you miss the old way, just substitute an equal amount of brown sugar for the graham cracker crumbs.
- Peanut butter: I use store-bought peanut butter for this recipe, and Skippy is my favorite brand.
- Chocolate: I like regular semi-sweet chocolate chips, but you can use milk chocolate if you prefer that.
- Yield: I calculated the yield based on using an 8-inch by 8-inch pan and cutting the bars into 2-inch squares. This makes 16 bars. Your yield may vary depending on which size pan you use and how you cut the bars. The bars are very rich, so smaller pieces may be appreciated by some guests.
- Storage: Store covered in the refrigerator for 2 to 3 weeks. Or, if you live in a cold climate and the temperature is 40 degrees or less, feel free to store these in the pan in your garage or on your patio.
- Make ahead: These bars need some time to set up, so plan on chilling them at least a few hours, preferably overnight.
- Freezer: The Peanut Butter Bars can be frozen for up to 2 months. You can either freeze them unsliced in the pan, or slice them into pieces and store them in layers between parchment paper.
Nutrition
Meggan Hill is a classically-trained chef and professional writer. Her meticulously-tested recipes and detailed tutorials bring confidence and success to home cooks everywhere. Meggan has been featured on NPR, HuffPost, FoxNews, LA Times, and more.
When I made these, I replaced 1/2 C Creamy Peanut Butter with 1/2 C Crunchy. They were super good! The next time, I will use a 9X13 pan to achieve the thinner bar – and I might use more crunchy vs creamy PB.
I know they’ll be great either way.
I love hearing how people customize my recipes with great results! – Meggan
Can this recipe be doubled for a 13×9 baking pan? They do look amazing. Thanks for sharing.
Hi LuAnn, yes! If I’m using a 9″x 13″ baking pan for this recipe, I will usually make a double batch. Some readers have used a larger pan for a single recipe and have been happy too, claiming it makes a thinner bar that is more like the real thing. Please let me know how they turn out! – Meggan